Camera Profiles
A single camera can use multiple profiles to adapt to different contexts (lighting, cycle time, capture quality, etc.). Each profile is a saved set of camera parameters: exposure, image quality, capture mode and other acquisition settings.
In Pick[+], it's common to use two different profiles: Calibration and Execution.
Calibration Profile
Calibration is accuracy-critical and usually not time-critical, so we typically use a higher quality capture preset (more/denser 3D data per shot). This helps achieve a more precise camera-robot calibration.
Execution Profile
During production, cycle time matters. Execution usually uses a faster preset that still produces stable 3D data, but with shorter capture time.
Additionally, calibration may be done in a slightly different area than production (or at a different time of day), so lighting can change. Because exposure depends on lighting, it's normal that calibration and execution require different exposure values.
When to Adjust a Camera Profile
You should update the camera profiles when:
- The camera runs in a new environment for the first time
- The lighting changes (new lamps, sunlight, blinds open/closed, different shift lighting, etc.)
- The workspace changes (different background, distance, reflective surfaces added/removed)
Edit a Camera Profile
This guide applies when using an Ensenso camera with Pick[+].
1) Open the Camera in NxView
Open the Ensenso SDK tool NxView.
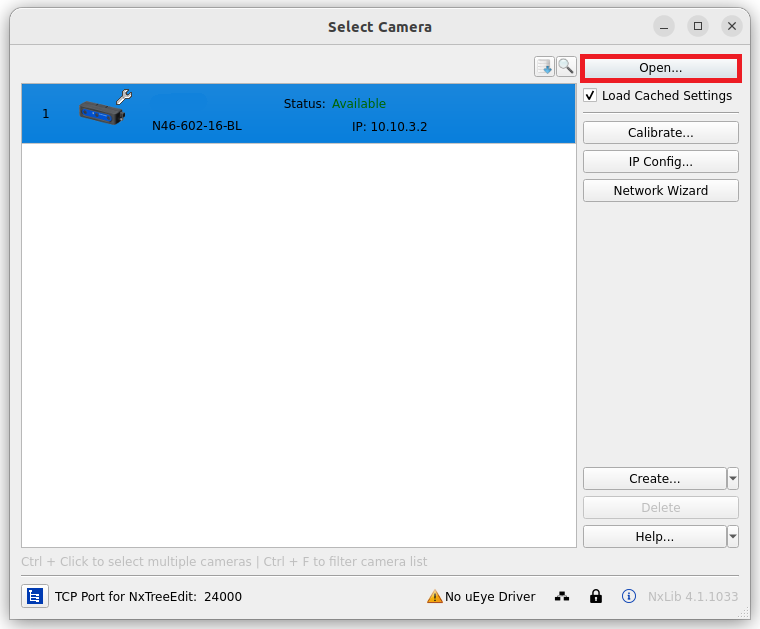
If the camera is connected to the Server PC, it will appear in the list. Select it and click Open…
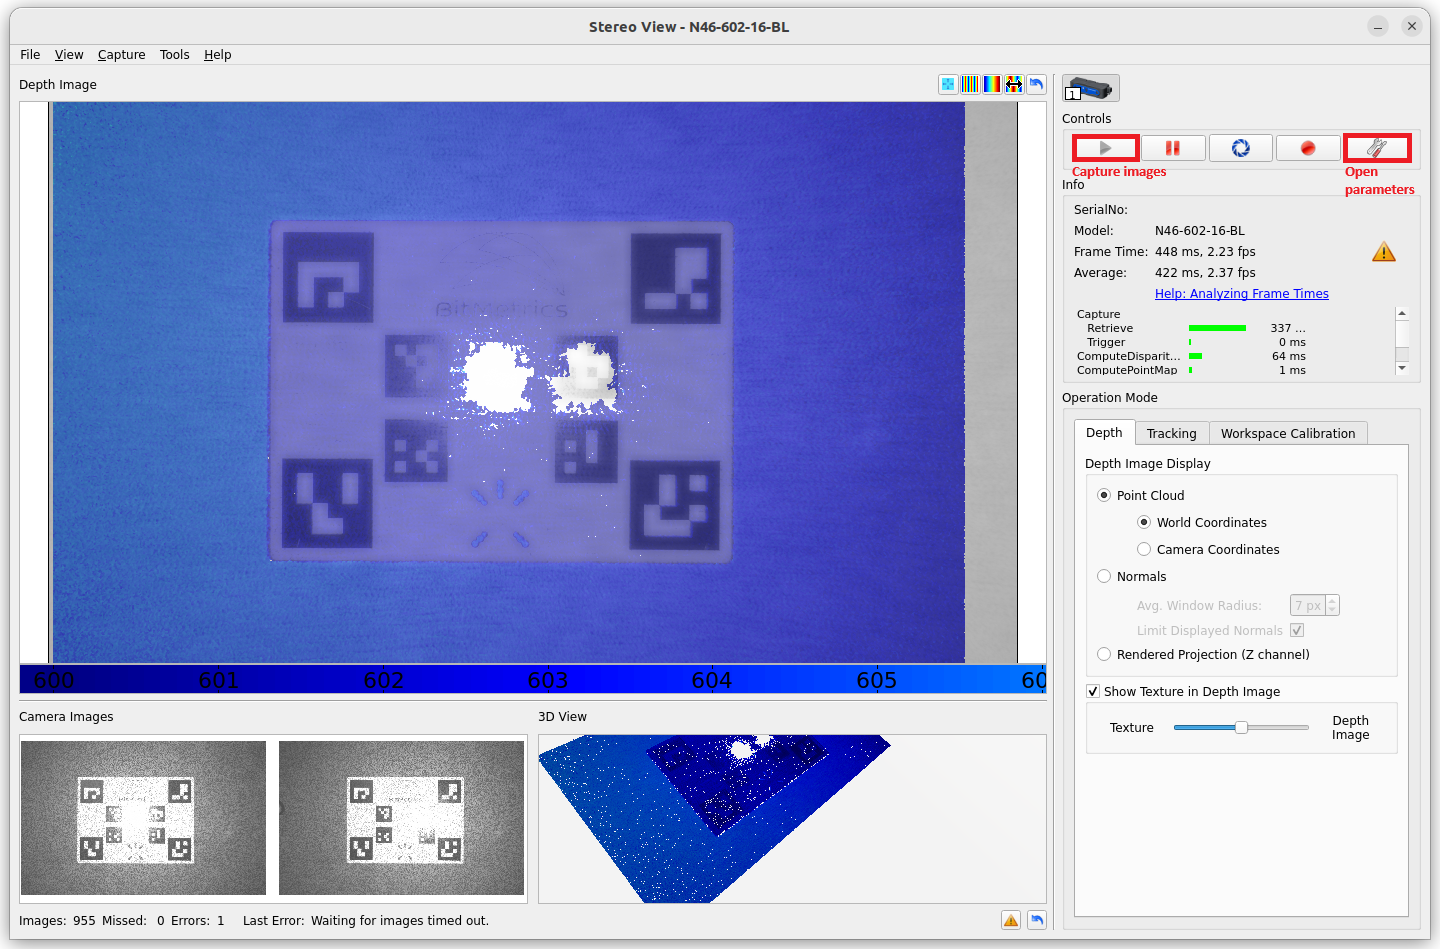
A new window will open. Click the Play button (▶) to start the live preview (2D + 3D).
2) Load the Profile You Want to Edit
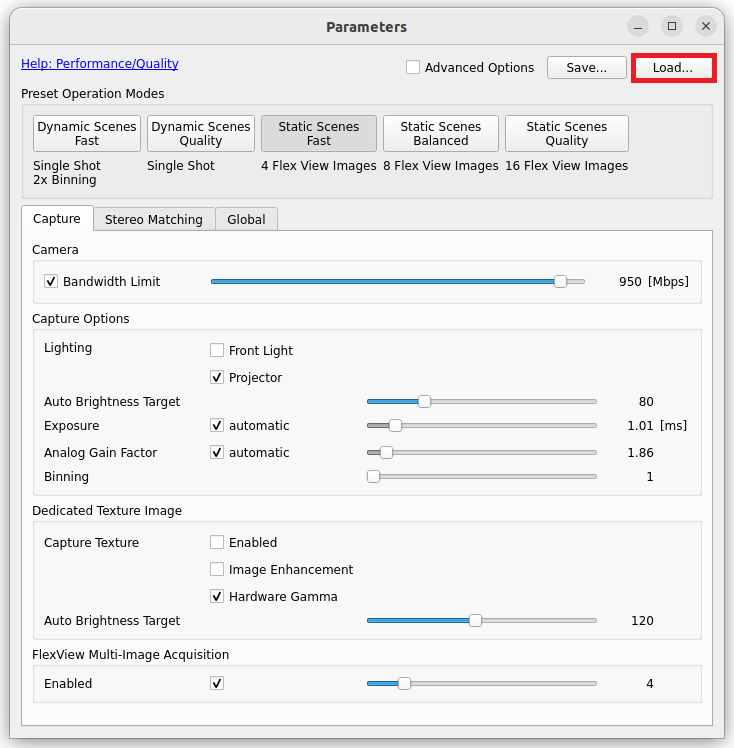
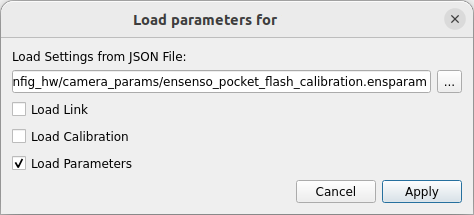
Open the camera parameters by clicking Options (). Then click Load… to load the calibration or execution profile.
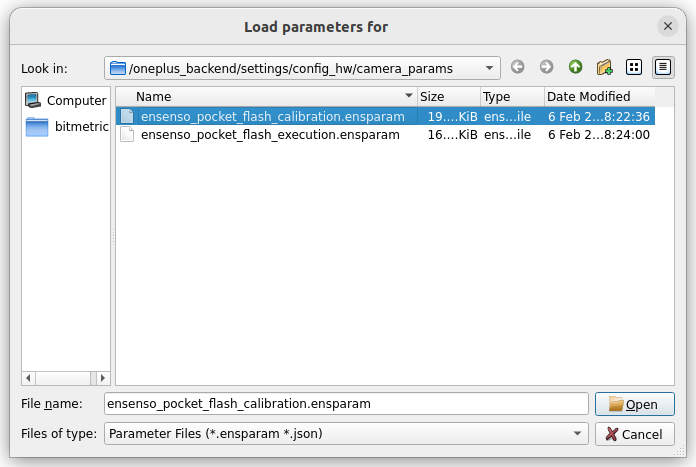
Make sure you're in this folder:
/var/lib/oneplus/settings/config_hw/camera/config_files
Select the .ensparam profile you want to edit (calibration or execution) and click Open.
Enable Load parameters and click Apply.
3) Adjust Exposure
Now you can modify the exposure while checking the live preview.
To validate the exposure for the real process:
- For calibration: place the calibration plate at the real calibration position
- For execution: place real parts to pick where the robot will actually work
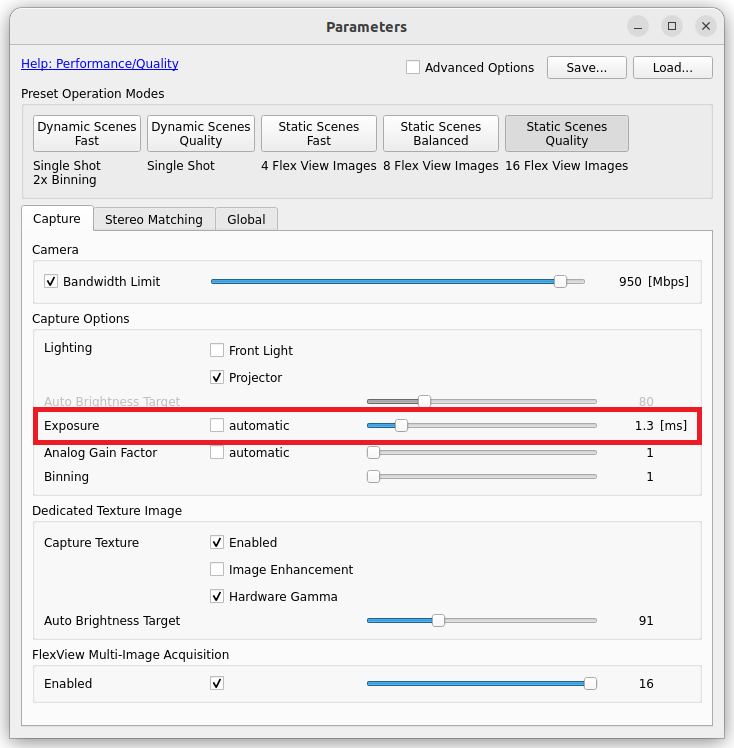
Your goal is a stable, clean depth image:
- Minimal noise (no "sparkling" depth points)
- No big holes on relevant surfaces (missing depth areas)
- Relevant regions are well-defined (the plate/part surfaces you need are filled and consistent)
Find the best exposure
-
Depth looks noisy (random points or unstable surface)
- Usually means too little signal.
- Increase exposure gradually until the surface becomes stable and the noise reduces.
-
Big holes or missing depth on the object
- Especially on shiny areas, often caused by reflections or too much direct light, which breaks stereo matching.
- Decrease exposure slightly and/or reduce direct reflections (change angle, add diffusion, avoid direct light on the object).
- If possible, avoid very bright hotspots (lamp pointing straight at the target).
-
2D image looks saturated
- Too bright typically correlates with unstable depth in difficult materials.
- Reduce exposure until the image regains contrast.
Best Practice
Set the exposure to the lowest value that still gives a stable depth map and 2D image in the regions you care about.
Examples
Bad exposure examples:
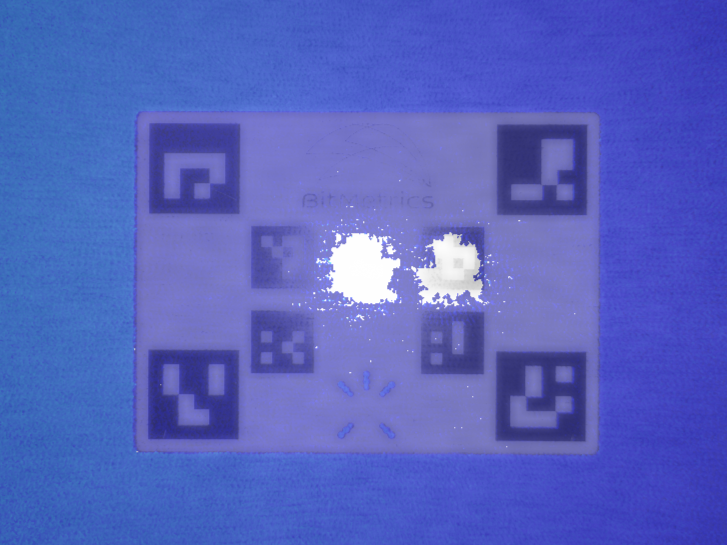
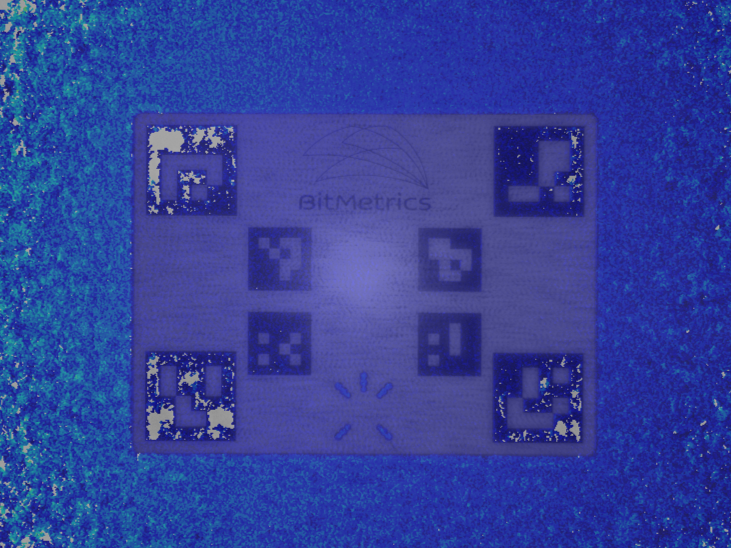
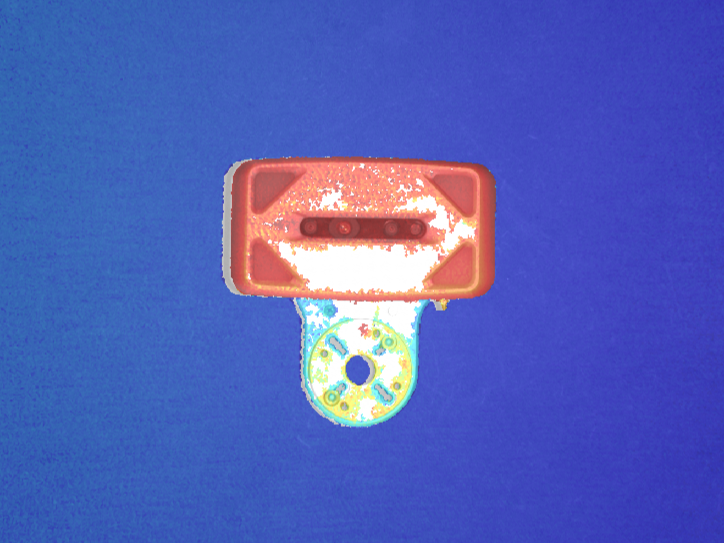
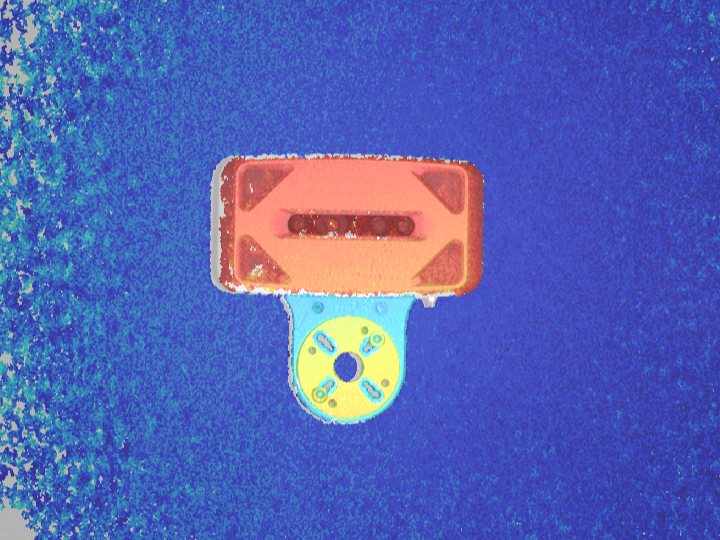
Good exposure examples:
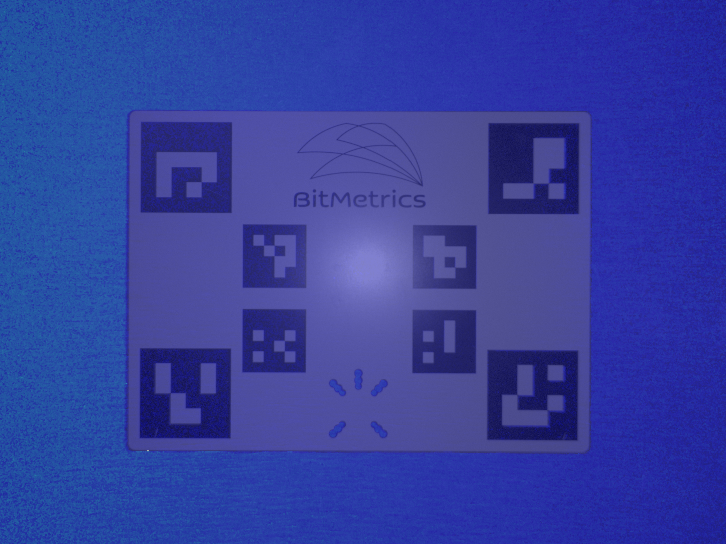
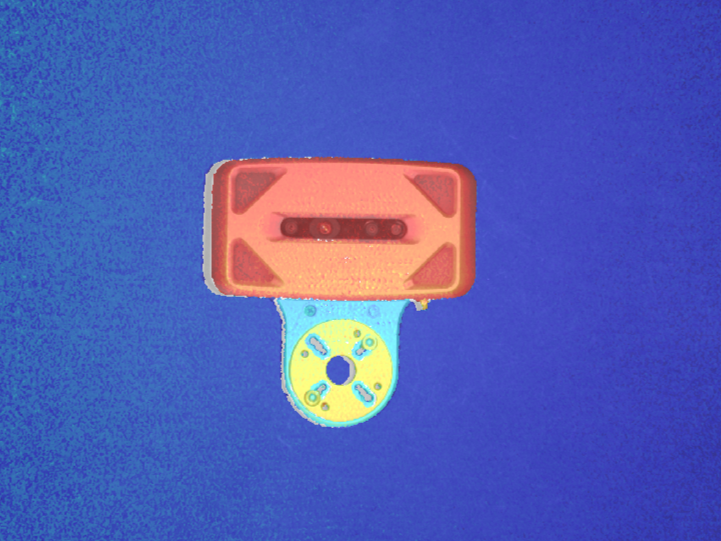
Save the Updated Profile
Once you're happy with the result, click Save… in the parameters menu.
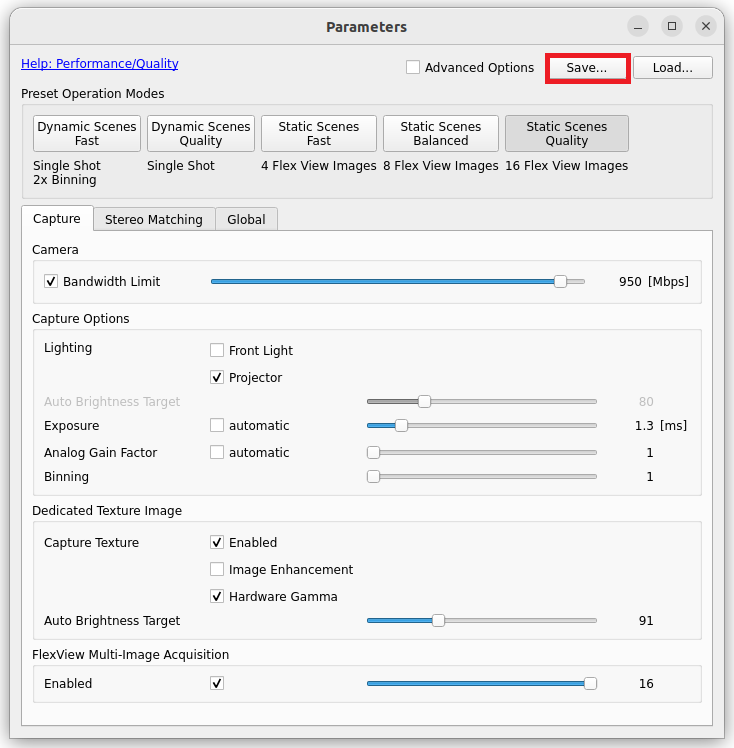
Profiles must always be saved in the camera configuration folder, so Pick[+] can find them:
/var/lib/oneplus/settings/config_hw/camera/config_files
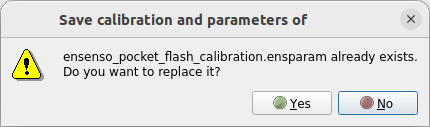
A pop-up will ask to confirm replacing the old profile file.
BACKUP RECOMMENDED
If you're not 100% sure, create a copy first in the same folder (recommended), then overwrite once validated.