Camera-Robot Calibration
Calibration computes the position and orientation offset between the camera and the robot so that a point in the image corresponds to the correct 3D point in the robot's workspace.
PLC-Controlled Calibration
For automated calibration through PLC control, see PLC Calibration.
Pick[+] offers two calibration types:
-
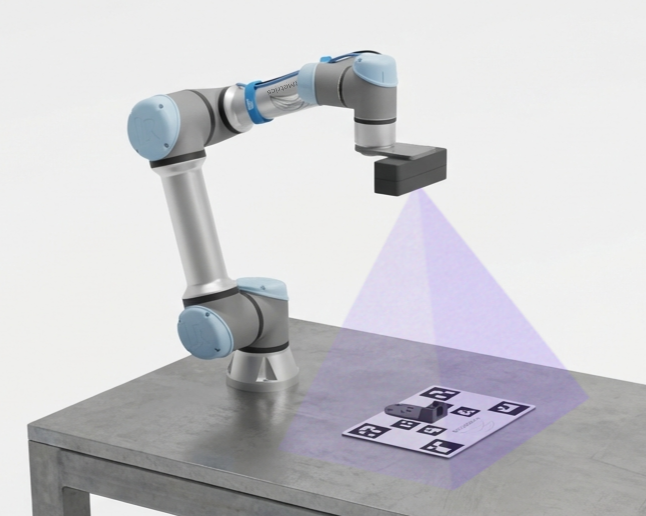
Eye-in-Hand
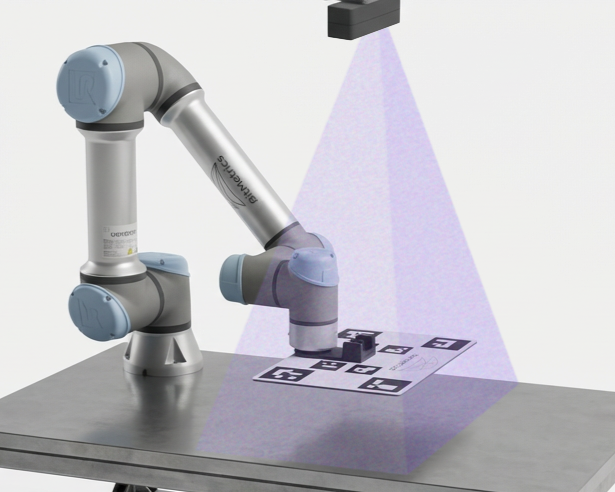
The camera is mounted on the robot arm, so the camera moves with the robot to the different poses.
-
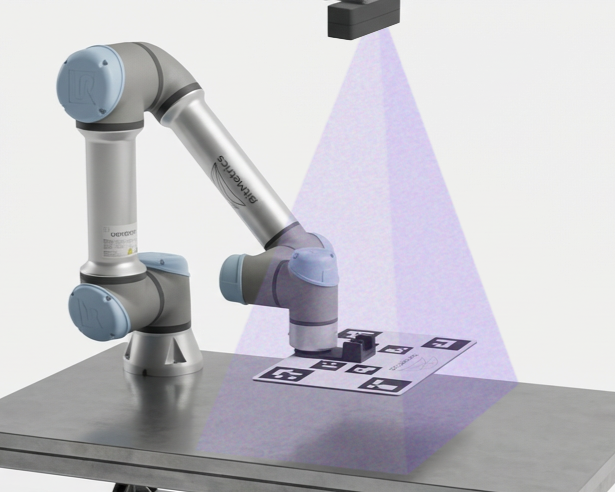
Eye-to-Hand
The camera is fixed in the environment and the robot moves underneath it.
When to Re-Calibrate
-
After remounting the camera
Any physical shift (even ~1 mm) can misalign the system. -
When pick points drift
When the robot's actual picking location consistently deviates from the calculated point.
Calibration Process
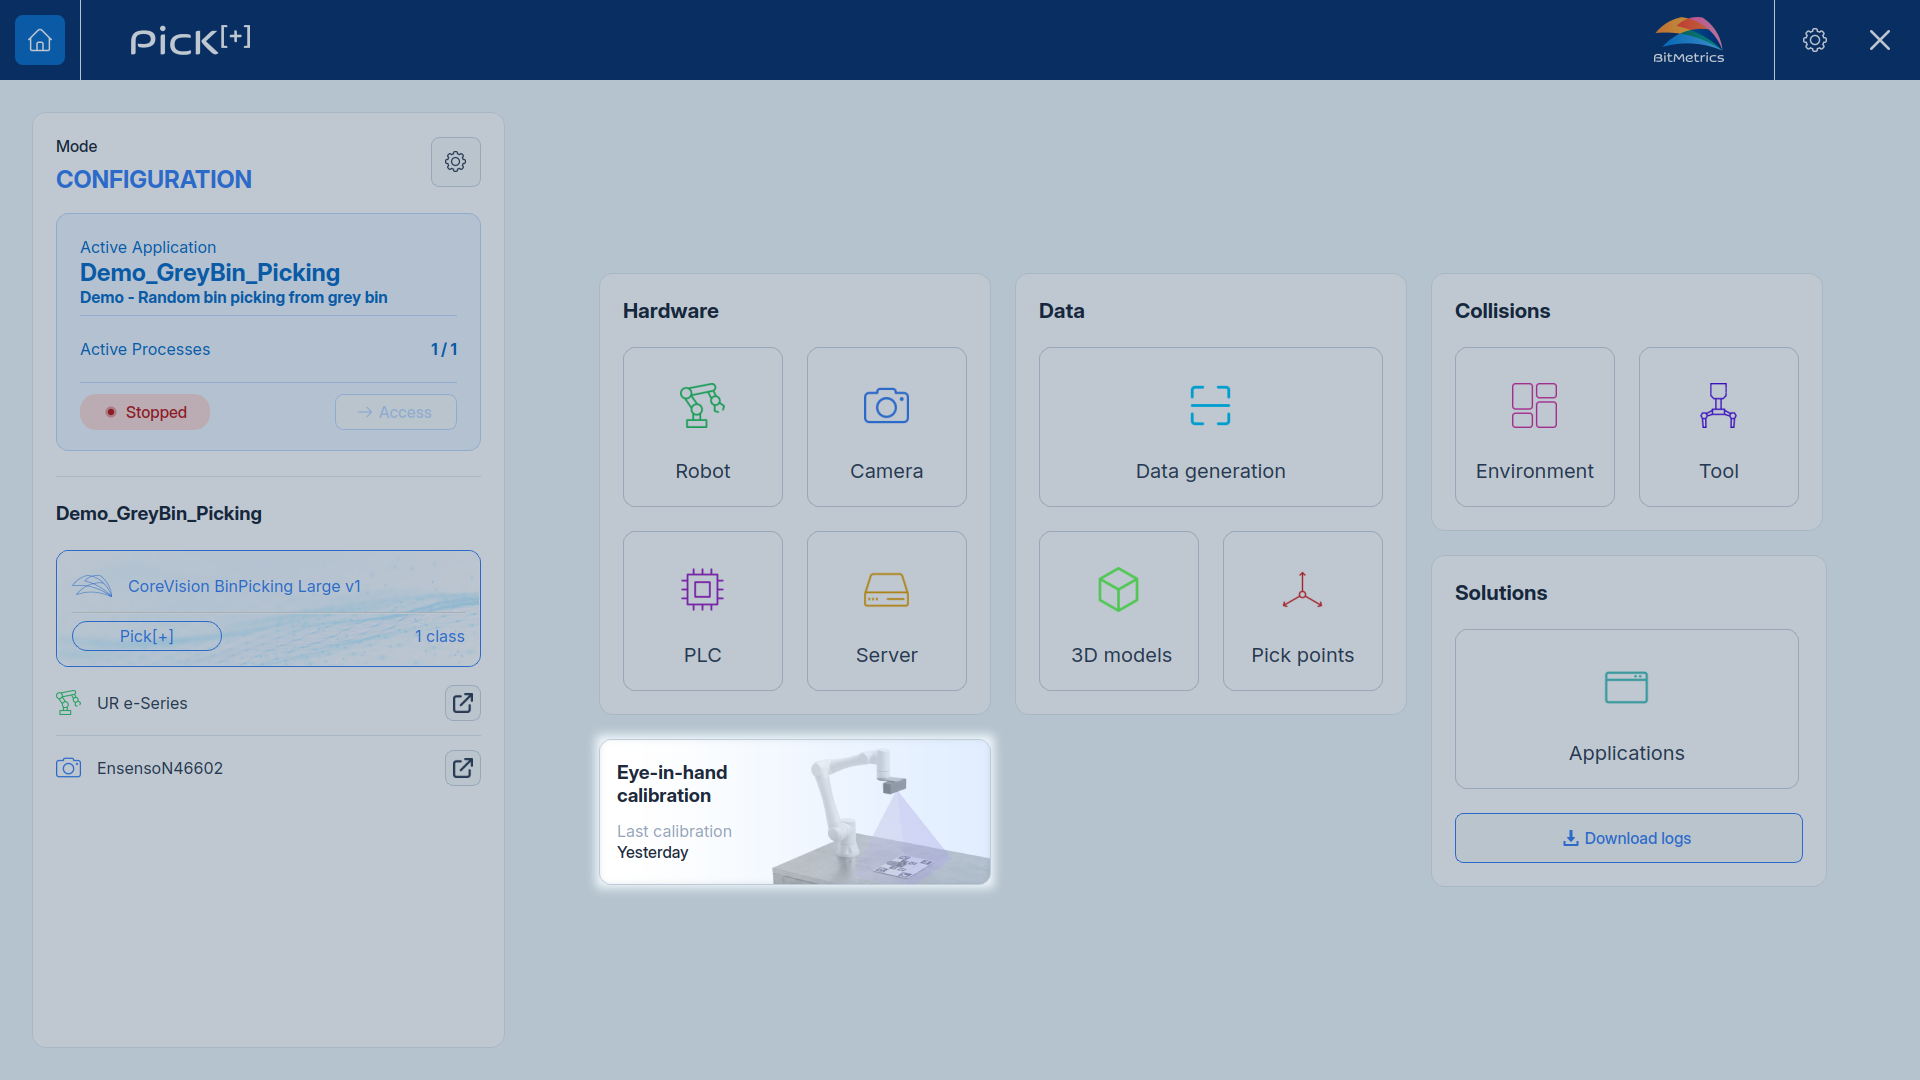
To start a new calibration, on the Home Screen click the Calibration button in the Environment panel:
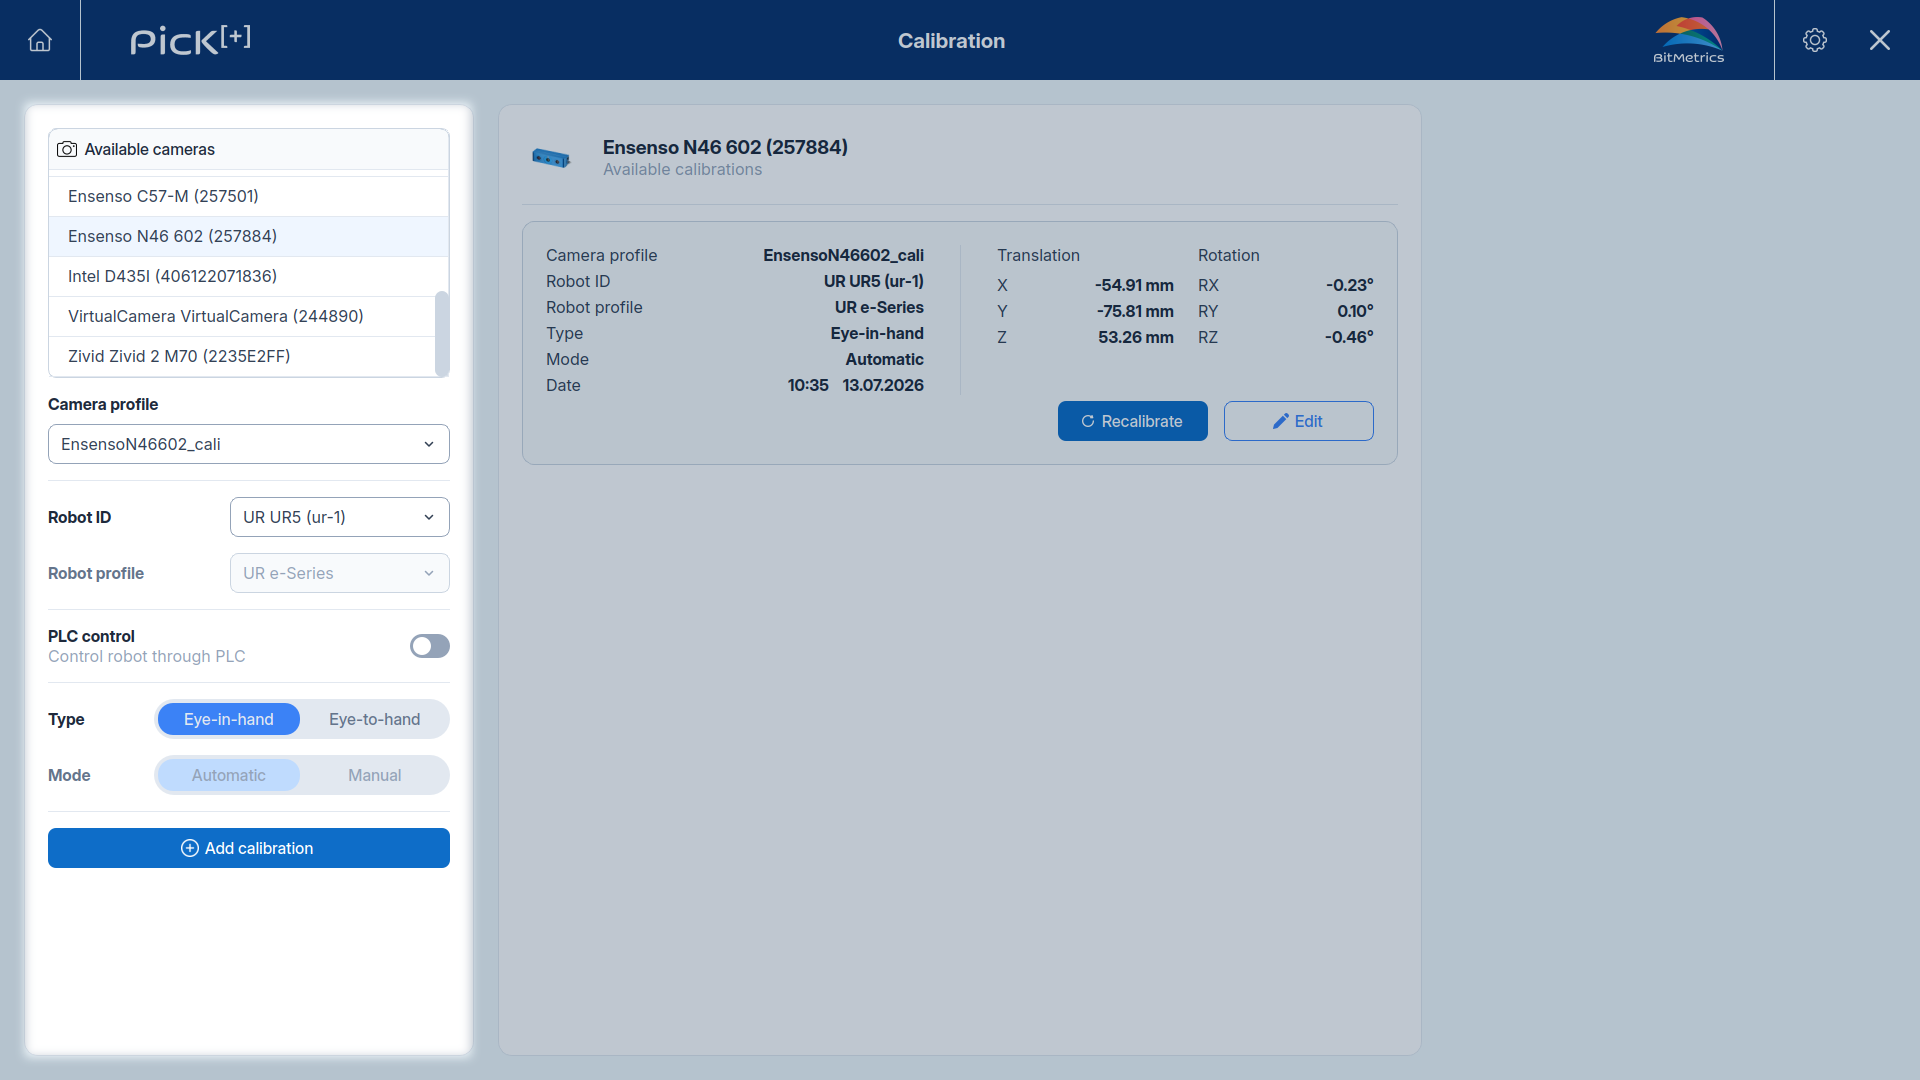
The calibration of each camera will appear with the calibration parameters, date and the results obtained.
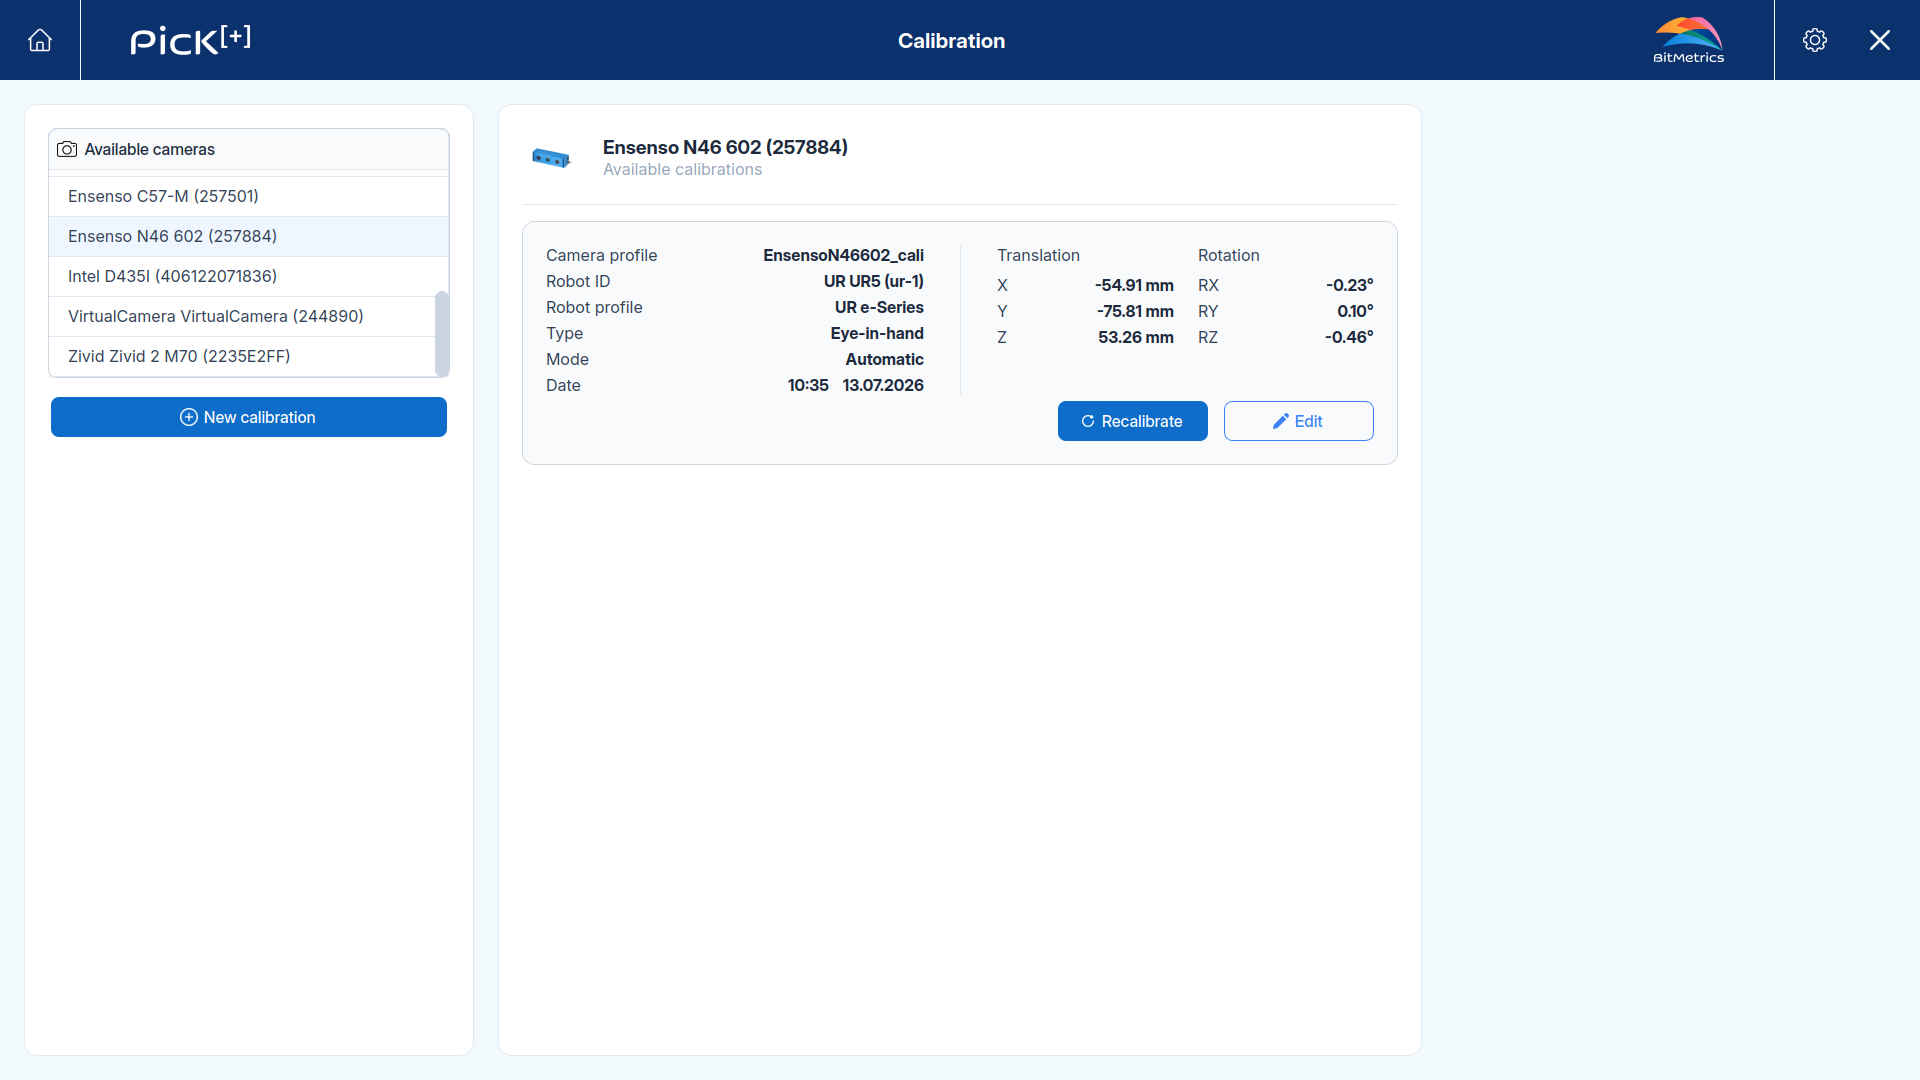
For each camera, every completed calibration is stored with its own unique set of parameters. This lets you keep a history of the calibrations performed and reuse them:
- Recalibrate: repeats a stored calibration using the same parameters that were originally completed. Use this when you want to run the calibration again without changing anything, for example after remounting the camera or when pick points drift.
- New calibration: starts a calibration for a camera with a new set of parameters. Use this when you want to calibrate with different settings (such as a different profile, robot or calibration type).
When you click New calibration, all the configurable parameters appear:
- Camera:The camera selected for calibration.
-
Profile: Camera configuration profile. This profile, normally obtained from the camera SDK, includes the defined values for image quality, exposure, capture type, etc.
Tip
It is highly recommended to use the highest quality profile for the calibration. Learn how to edit and optimize camera profiles for best calibration results.
-
Robot: The robot selected for calibration.
- Profile (robot): Predefined for each robot.
- Type:
- Eye-in-hand: Calibration when the camera is mounted on the robot.
- Hand-eye: Calibration when the camera is attached externally to the robot.
- Mode:
- Automatic: Use by default.
- Manual: Under development.
Once the parameters have been configured, press Add calibration.
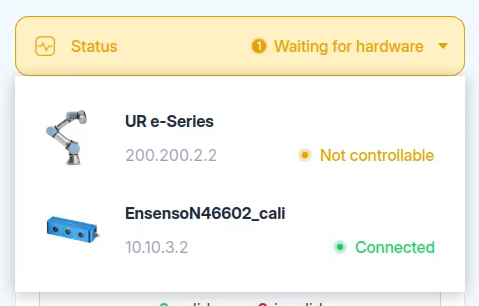
Ensure both devices are online. The Calibrate button remains disabled until both camera and robot report 🟩Connected and the robot is in Remote Mode (for UR) or Automatic Operating Mode (for ABB Robots) with IP configured:
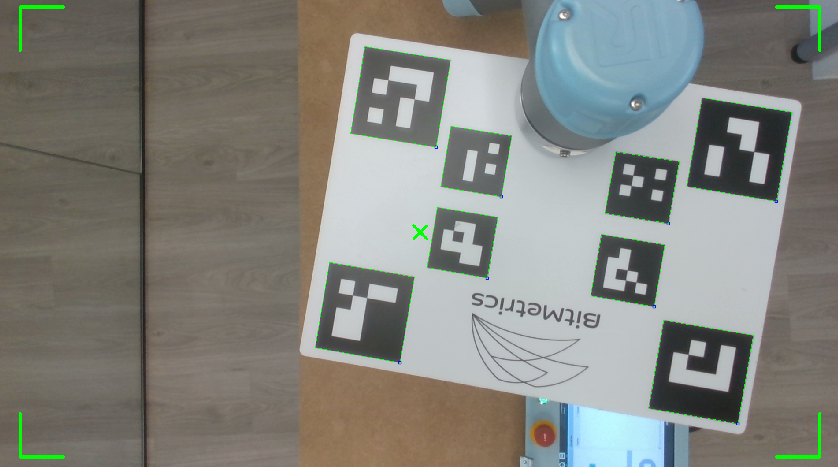
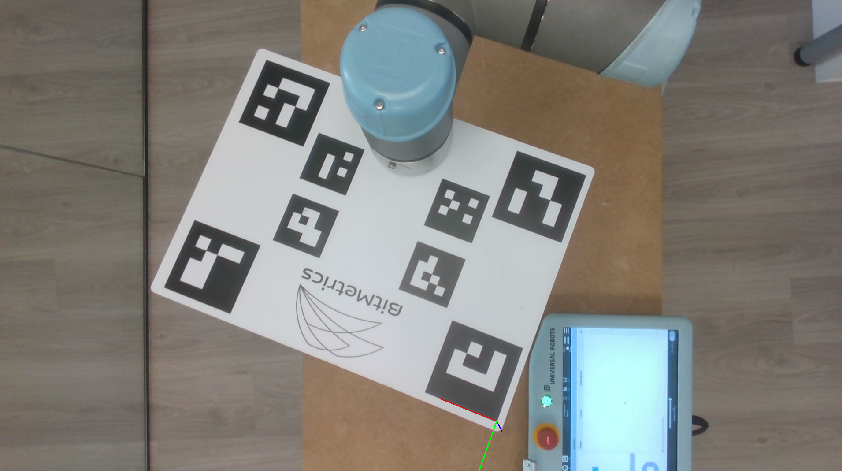
Prepare the calibration plate depending on the setup you have.
If the camera is mounted on the robot, the calibration plate must be placed on the working space in a stable position with the calibration [+] part on top.
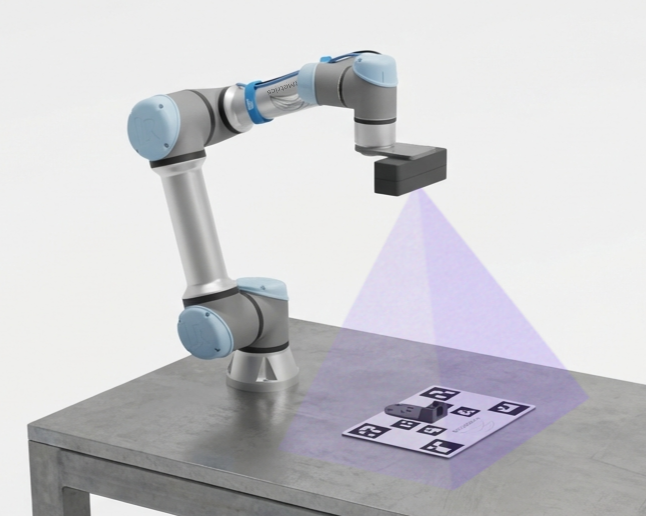
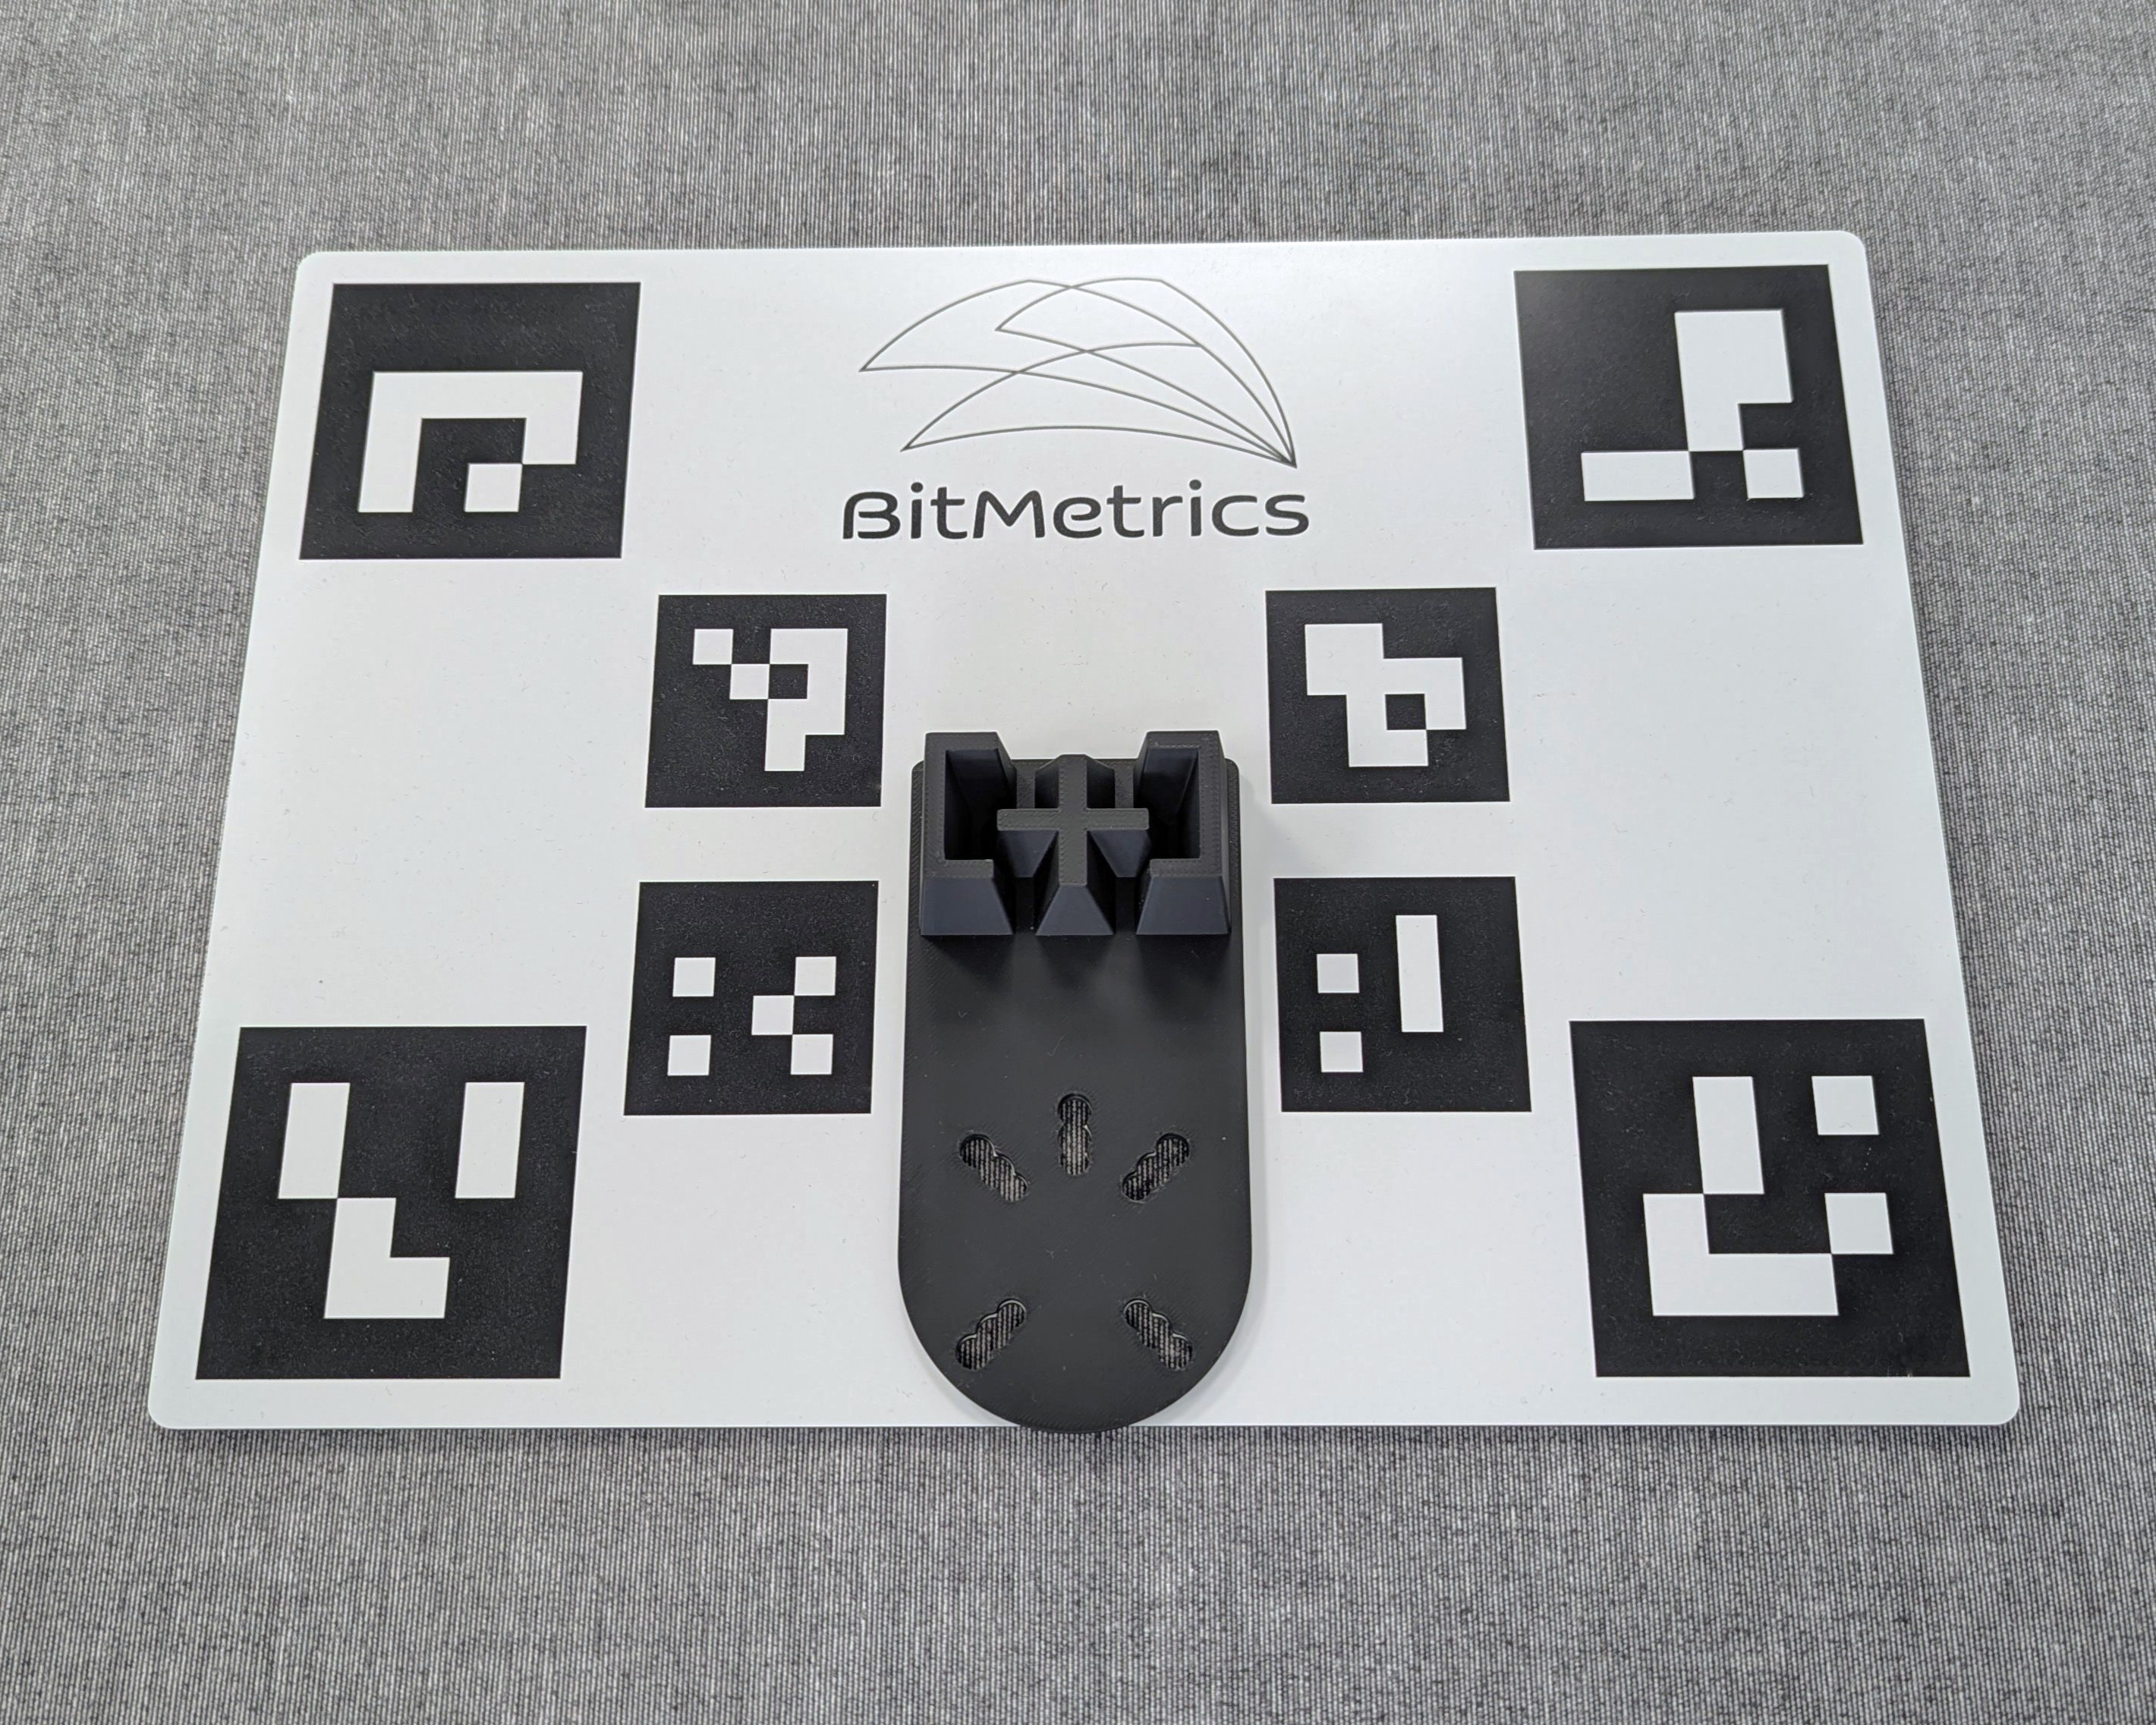
Move the robot so the camera sees the whole calibration plate and stays parallel to it:
- Distance: Enough distance to ensure that the calibration plate remains visible to the camera throughout all robot calibration trajectories. Never below the minimum working distance of your camera model.
- Margin: leave enough room for the plate to stay fully visible along the entire calibration trajectory.
- Clearance: make sure the robot cannot collide with its surroundings.
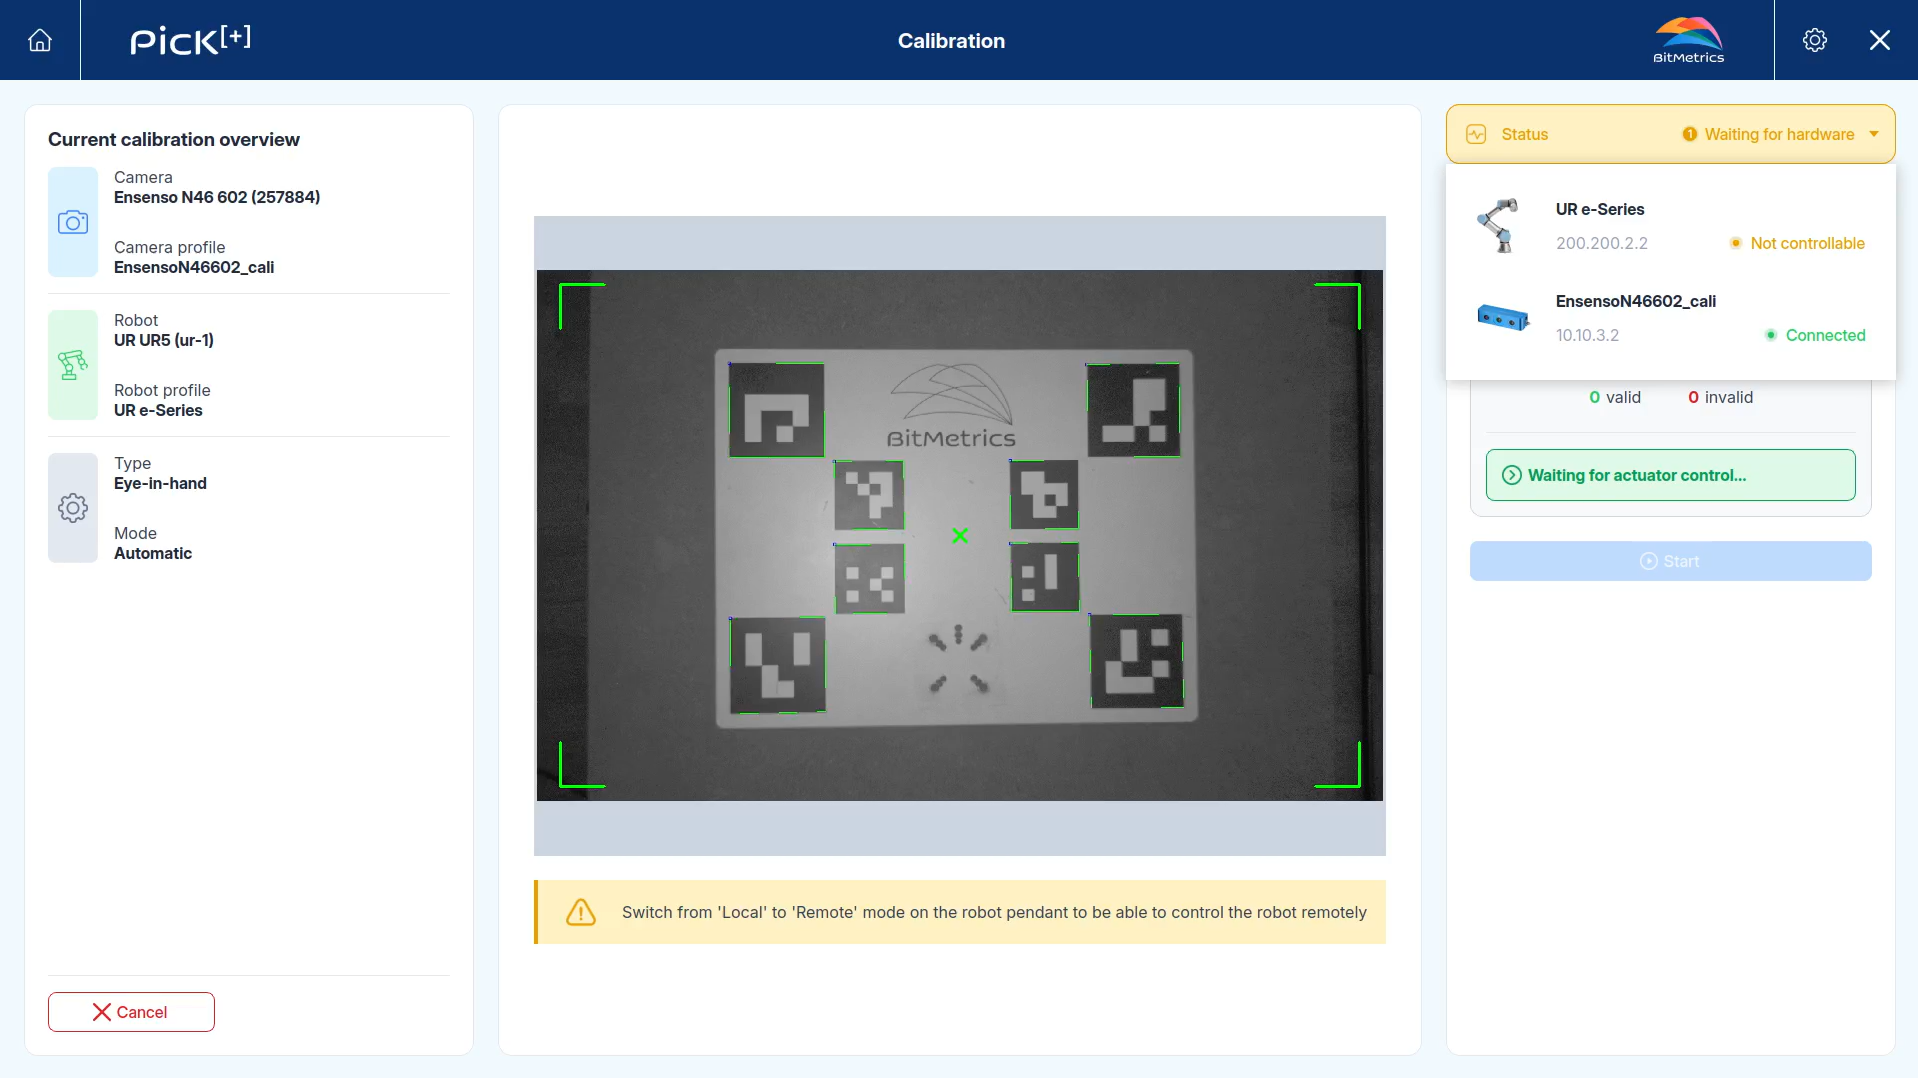
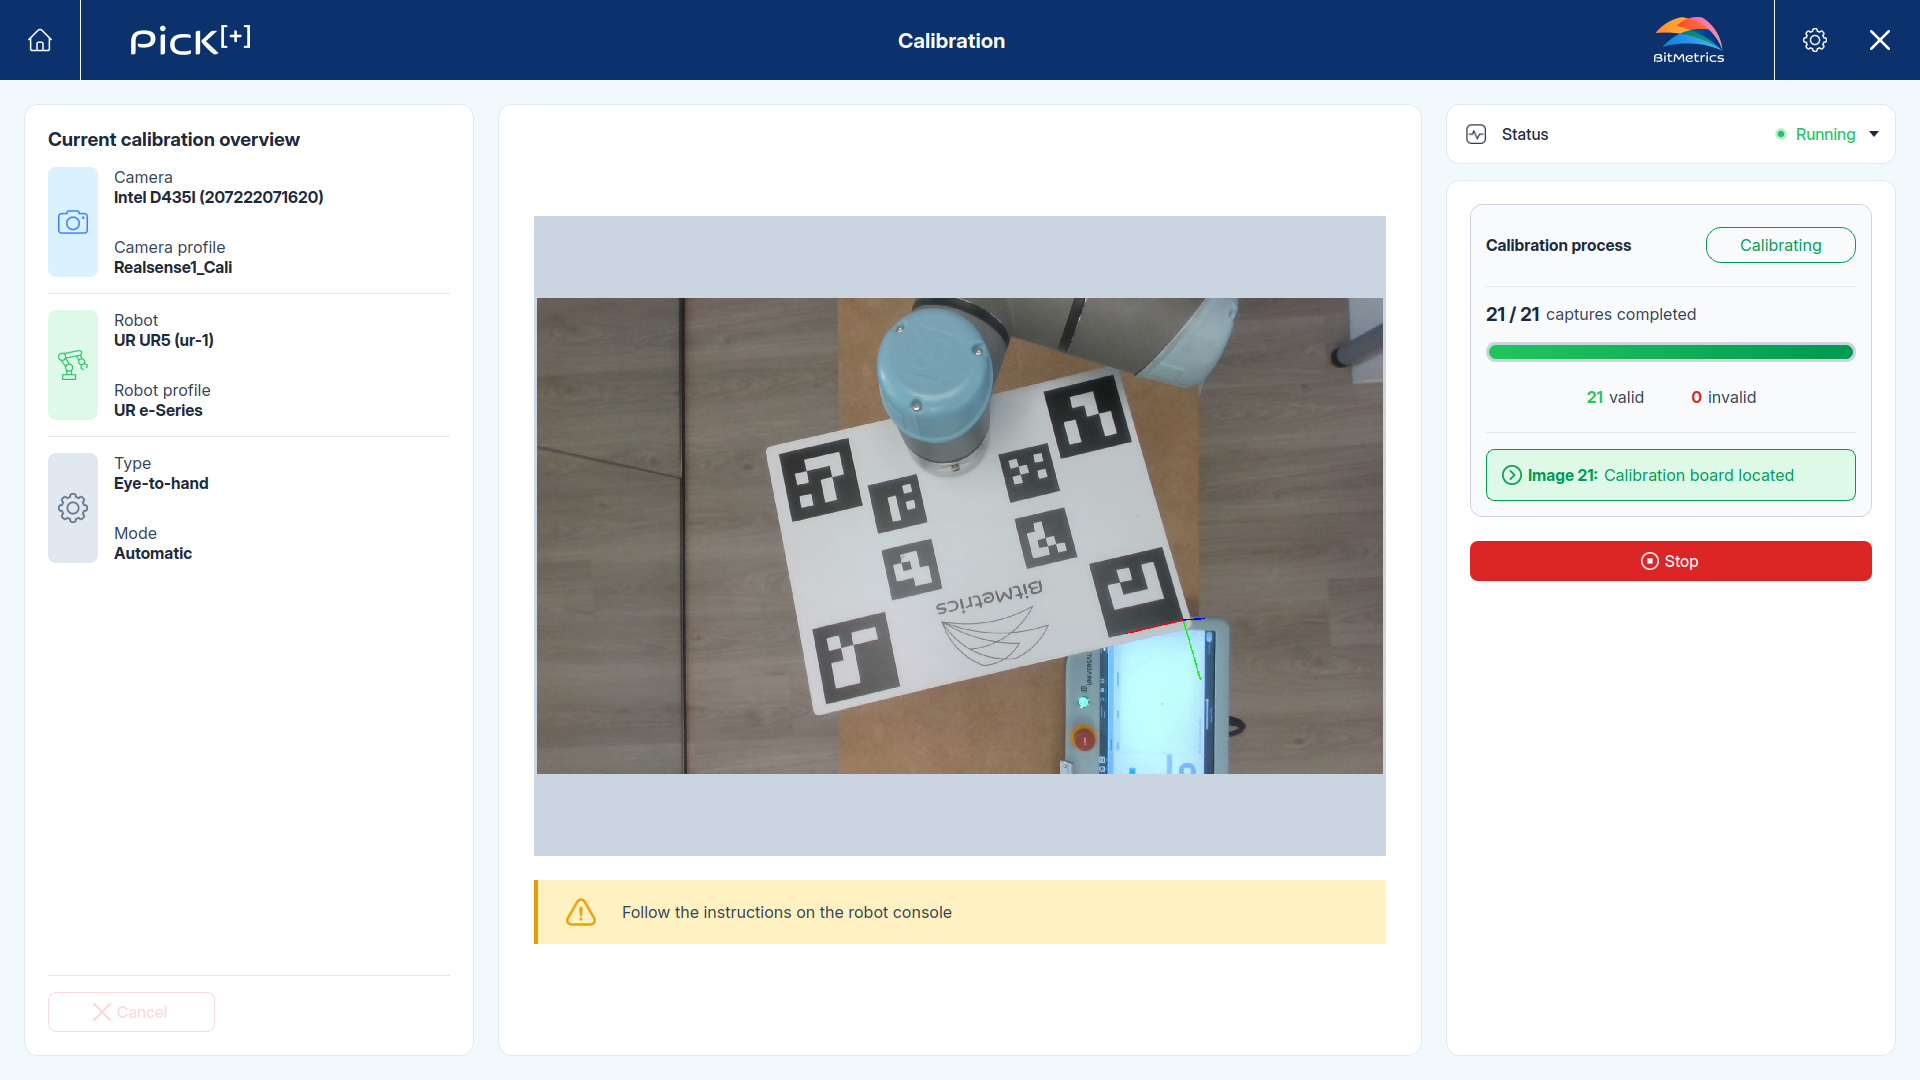
Then click Start to proceed with the pre-calibration process and follow the instructions on the robot console.
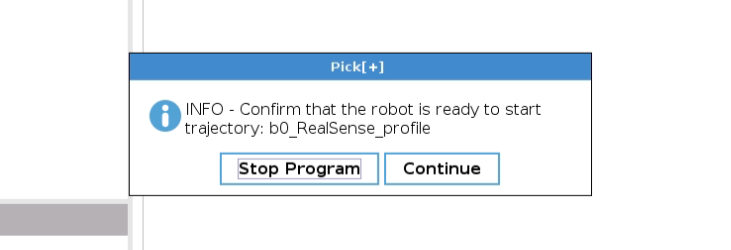
No pop-up on the pendant?
If the pop-up never appears and Pick[+] stays waiting, the UR controller is blocking the inbound access to its standard interfaces. See No calibration pop-up to solve it.
Once done, the system will check if all positions for the calibration are reachable and no collisions will happen. If a position is not reachable, move the calibration plate closer or farther and try again.
If everything is correct, it will start the calibration process. This process is automatic and it takes ~2 min to complete.
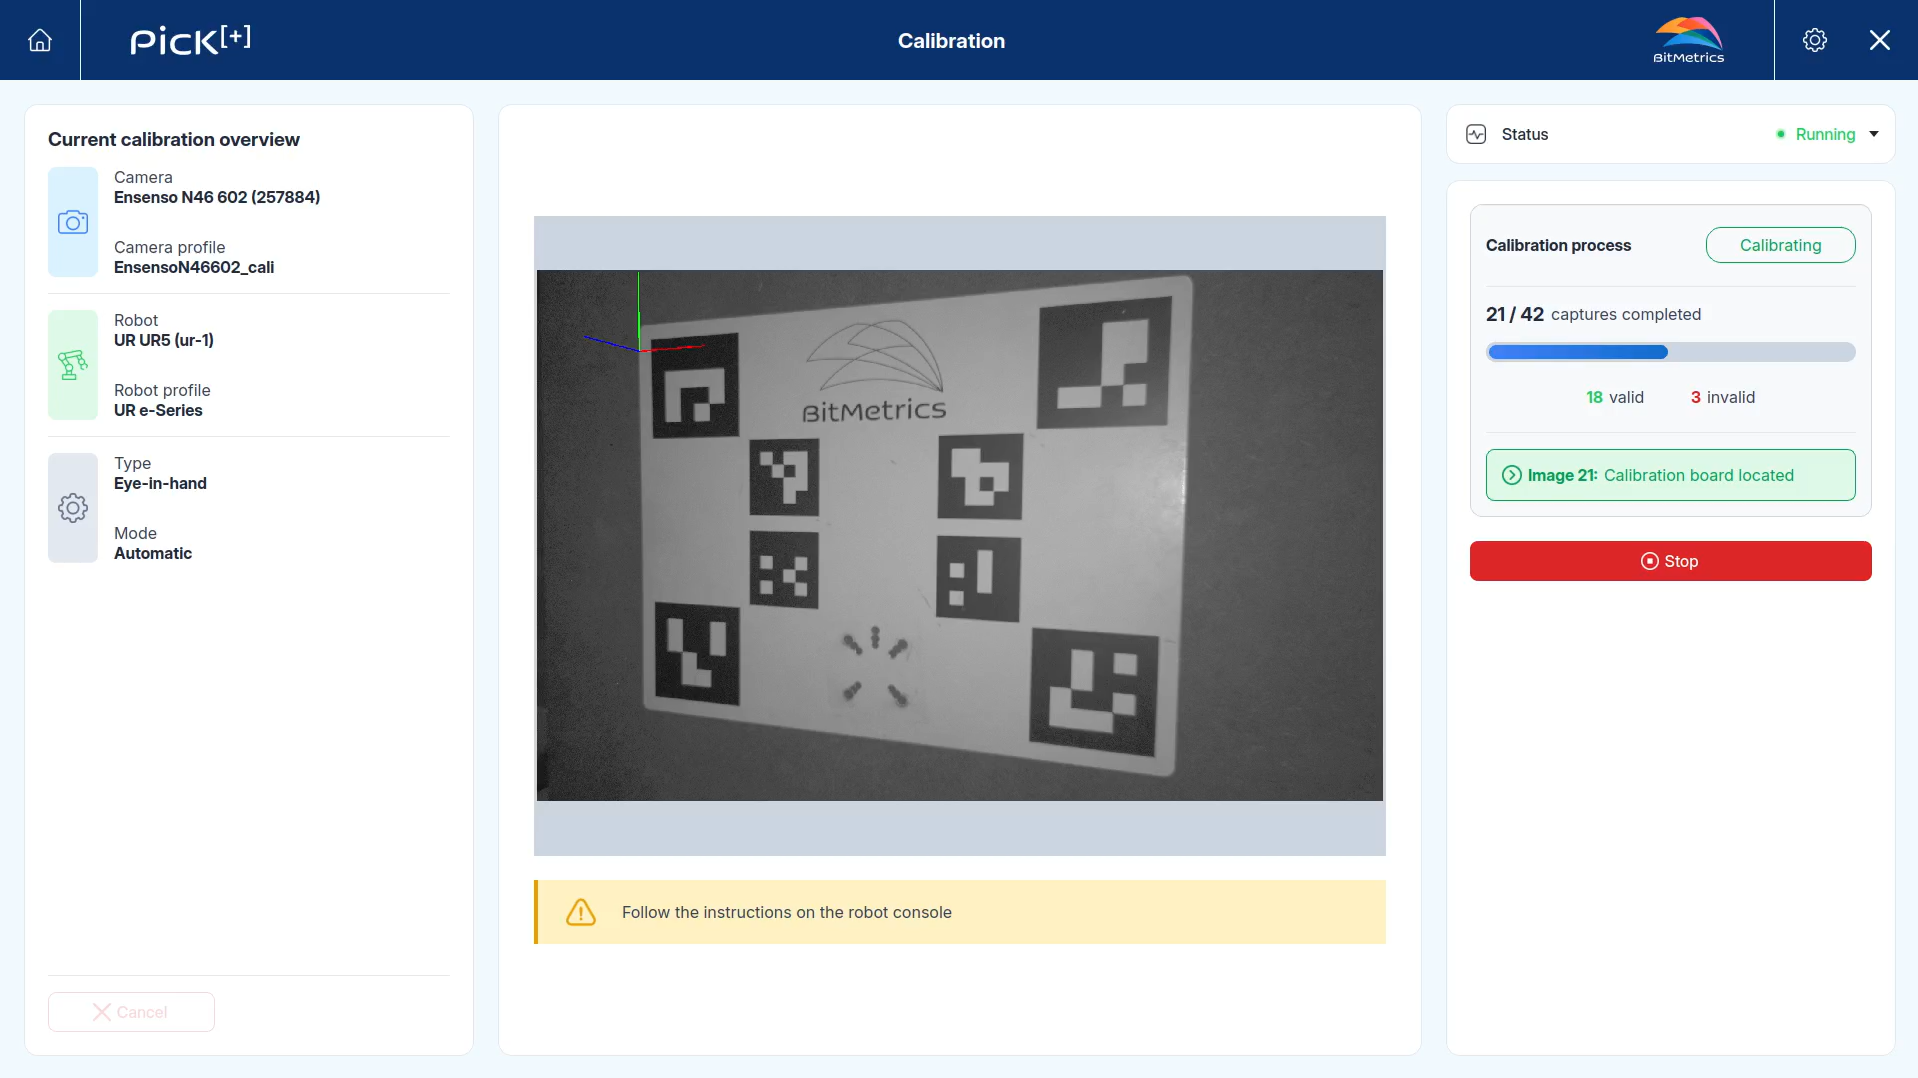
Calibration saved!
A new calibration matrix is stored and will be automatically used by all applications.
If the camera is external to the robot, attach the calibration plate and calibration [+] part to the robot's tool flange using four screws.
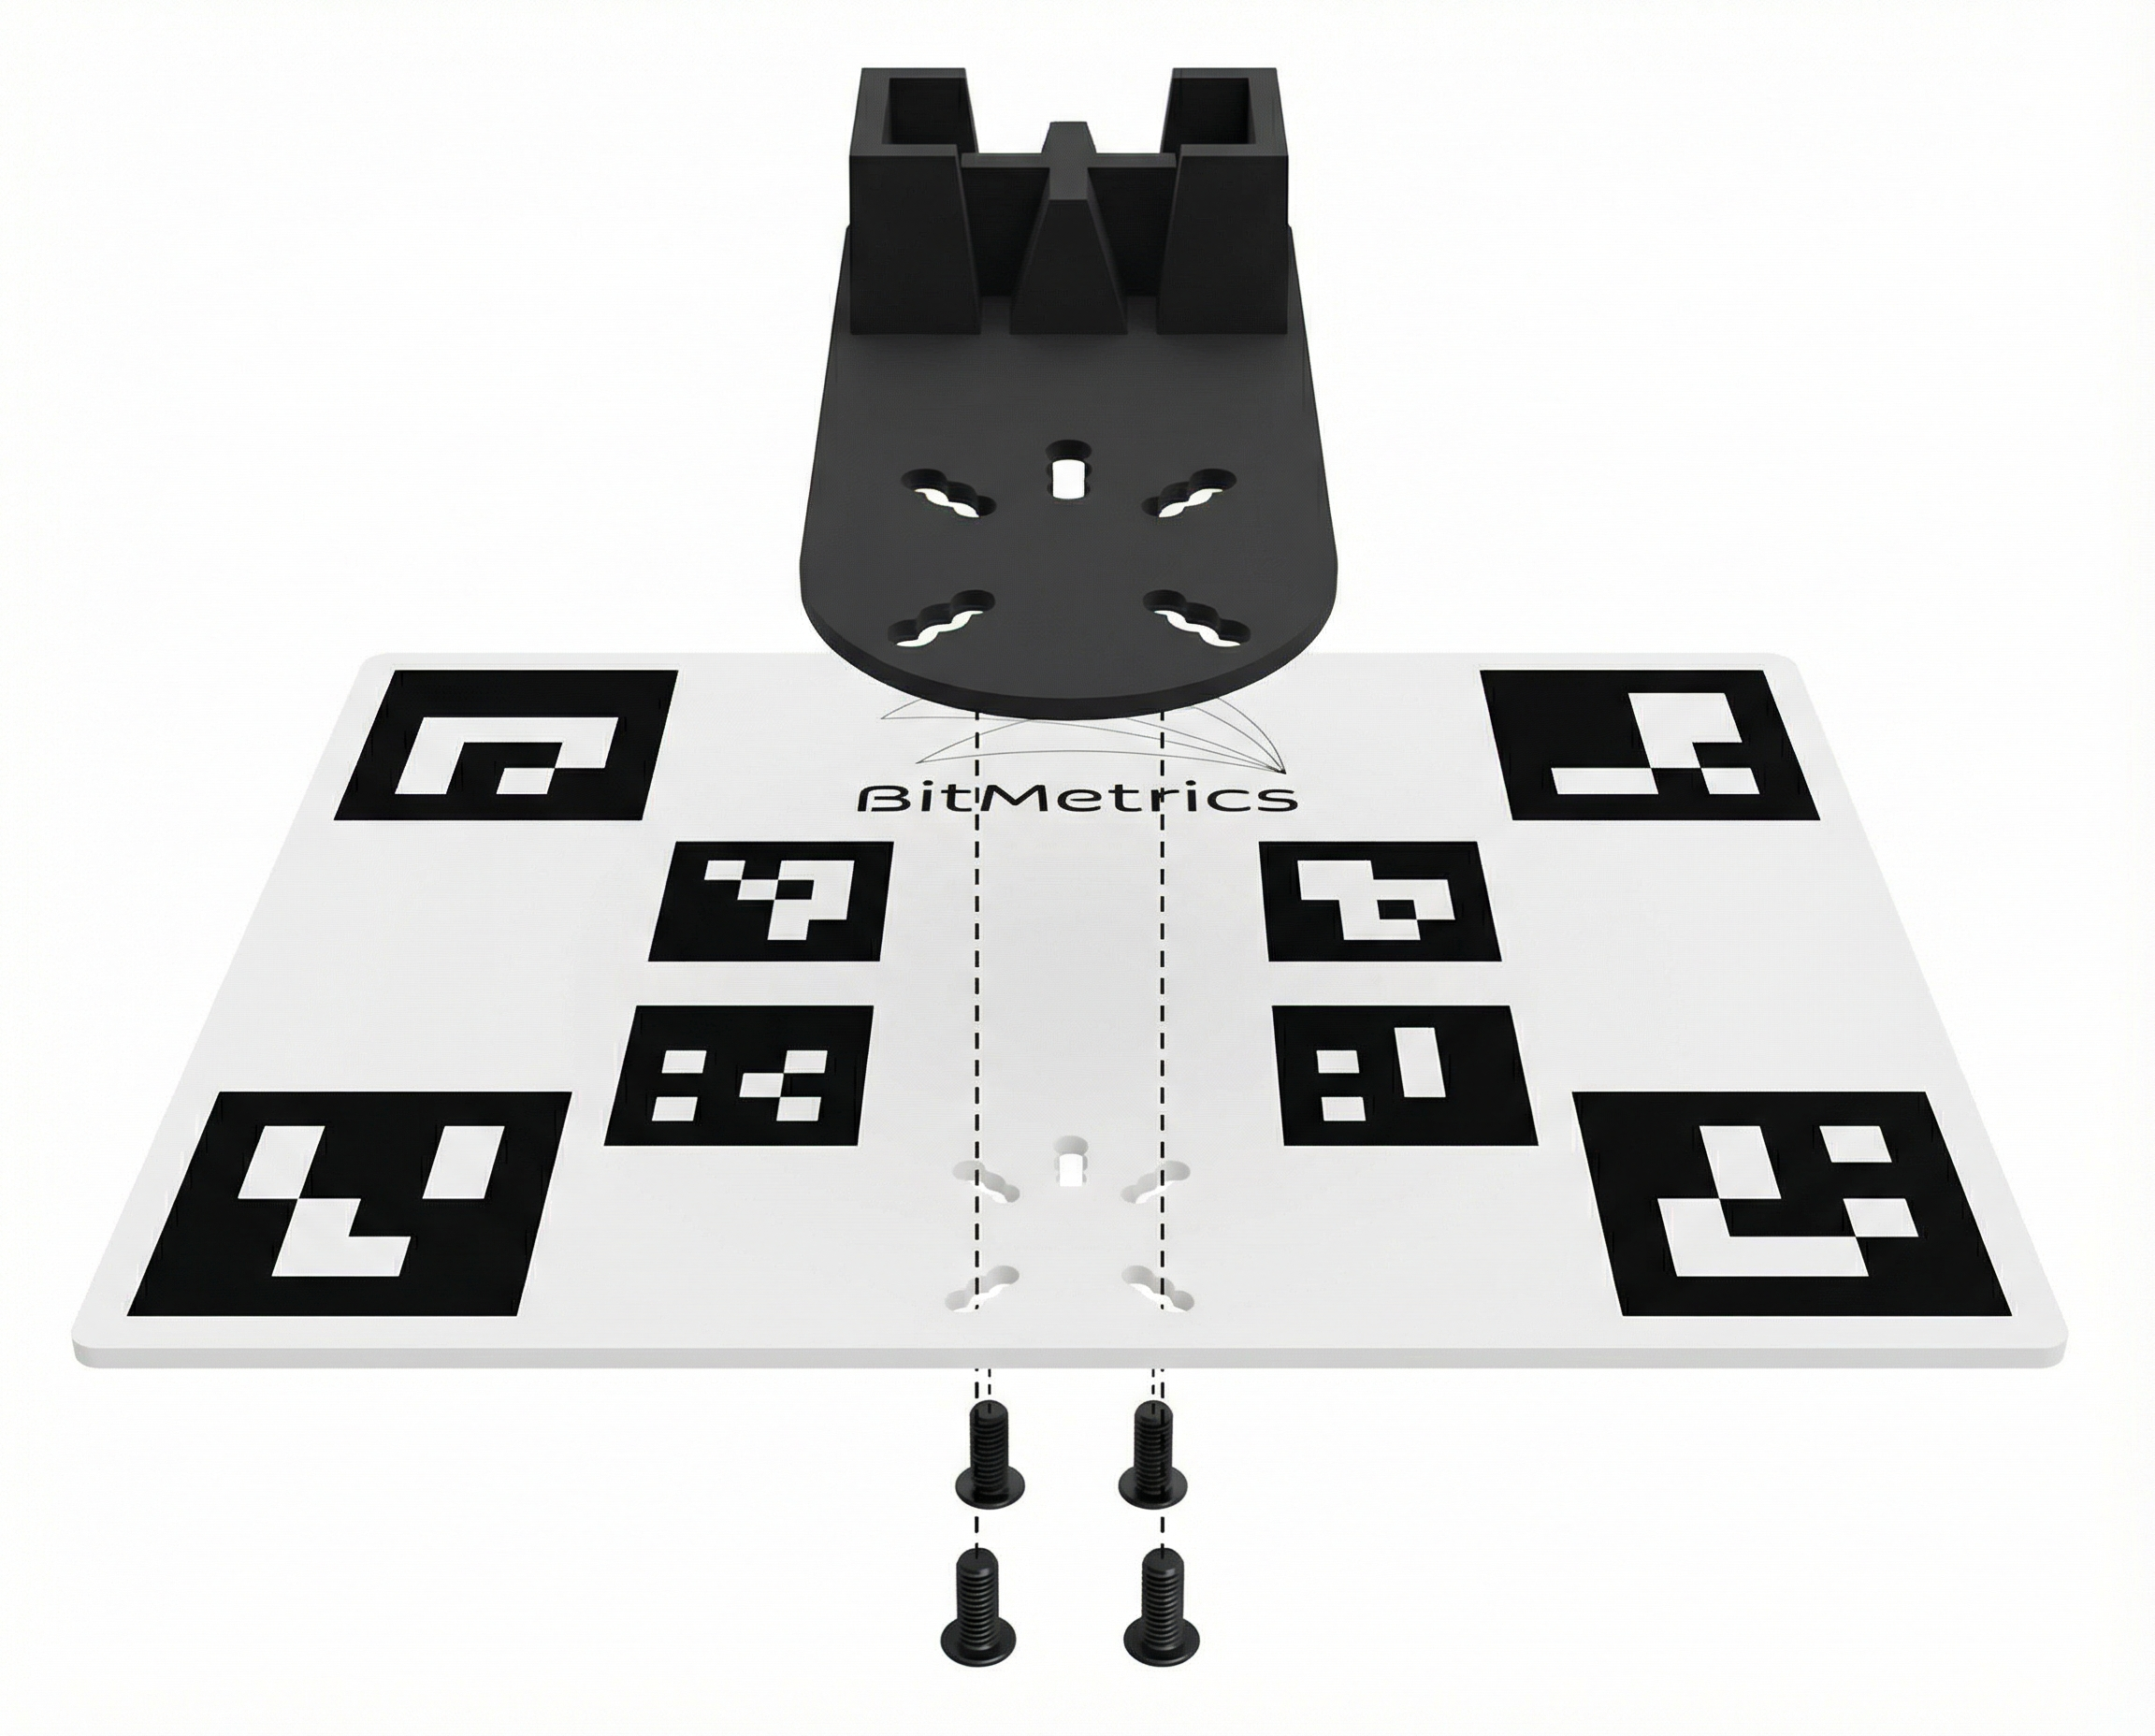
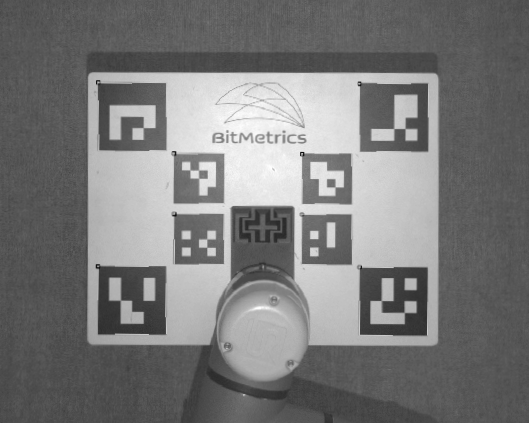
Move the robot so the camera sees the whole calibration plate:
- Distance: Enough distance to ensure that the calibration plate remains visible to the camera throughout all robot calibration trajectories. Never below the minimum working distance of your camera model.
- Margin: leave enough room for the plate to stay fully visible along the entire calibration trajectory.
- Clearance: make sure the robot cannot collide with its surroundings.
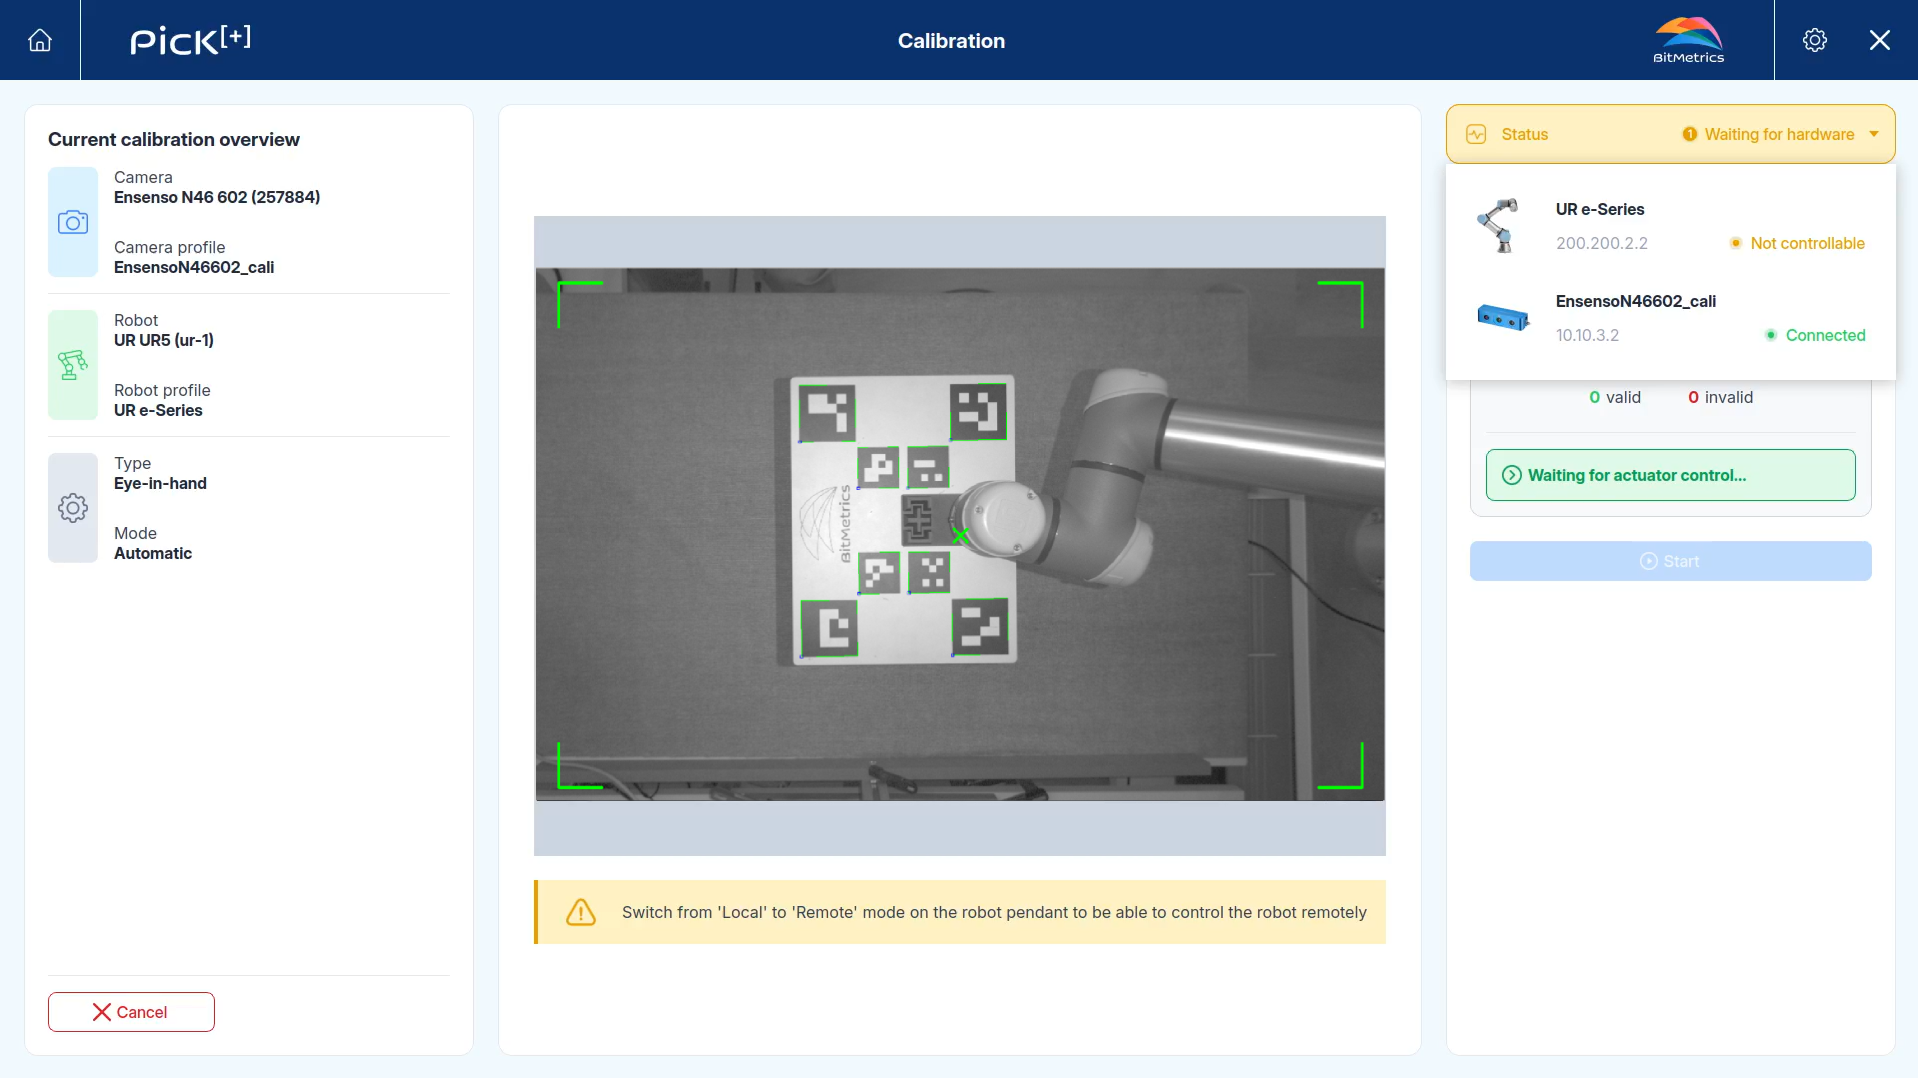
Then click Start to begin the calibration and follow the instructions on the robot console.
No pop-up on the pendant?
If the pop-up never appears and Pick[+] stays waiting, the UR controller is blocking the inbound access to its standard interfaces. See No calibration pop-up to solve it.
The robot automatically runs a short trajectory and captures around 6 images. When the trajectory finishes, click Continue, move the robot to a different position (change to Local mode to move it) and click Start again.
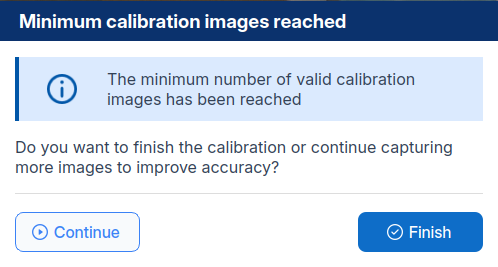
Repeat this process a minimum of 3 times, from 3 different initial poses. In every pose, keep the calibration plate fully visible to the camera and try different positions and orientations.

Calibration saved!
A new calibration matrix is stored and will be automatically used by all applications.