3D Models
A 3D Model is the object's 3D geometry, either generated from one of its scans or imported directly as a CAD file. Pick[+] needs this geometry to place and validate pick points on the object. See 3D Model for how it relates to references and scans.
This is the step that comes right after scanning an object (whether it's part of a reference or a standalone scan) and generating its annotations. Once the 3D model exists, the next step is defining its pick points.
One 3D model per orientation
A 3D model only captures the geometry of one physical arrangement of the object. If an object has been scanned in more than one orientation (different faces or resting positions), generate a separate 3D model for each of those scans, one model can't represent multiple poses at once.
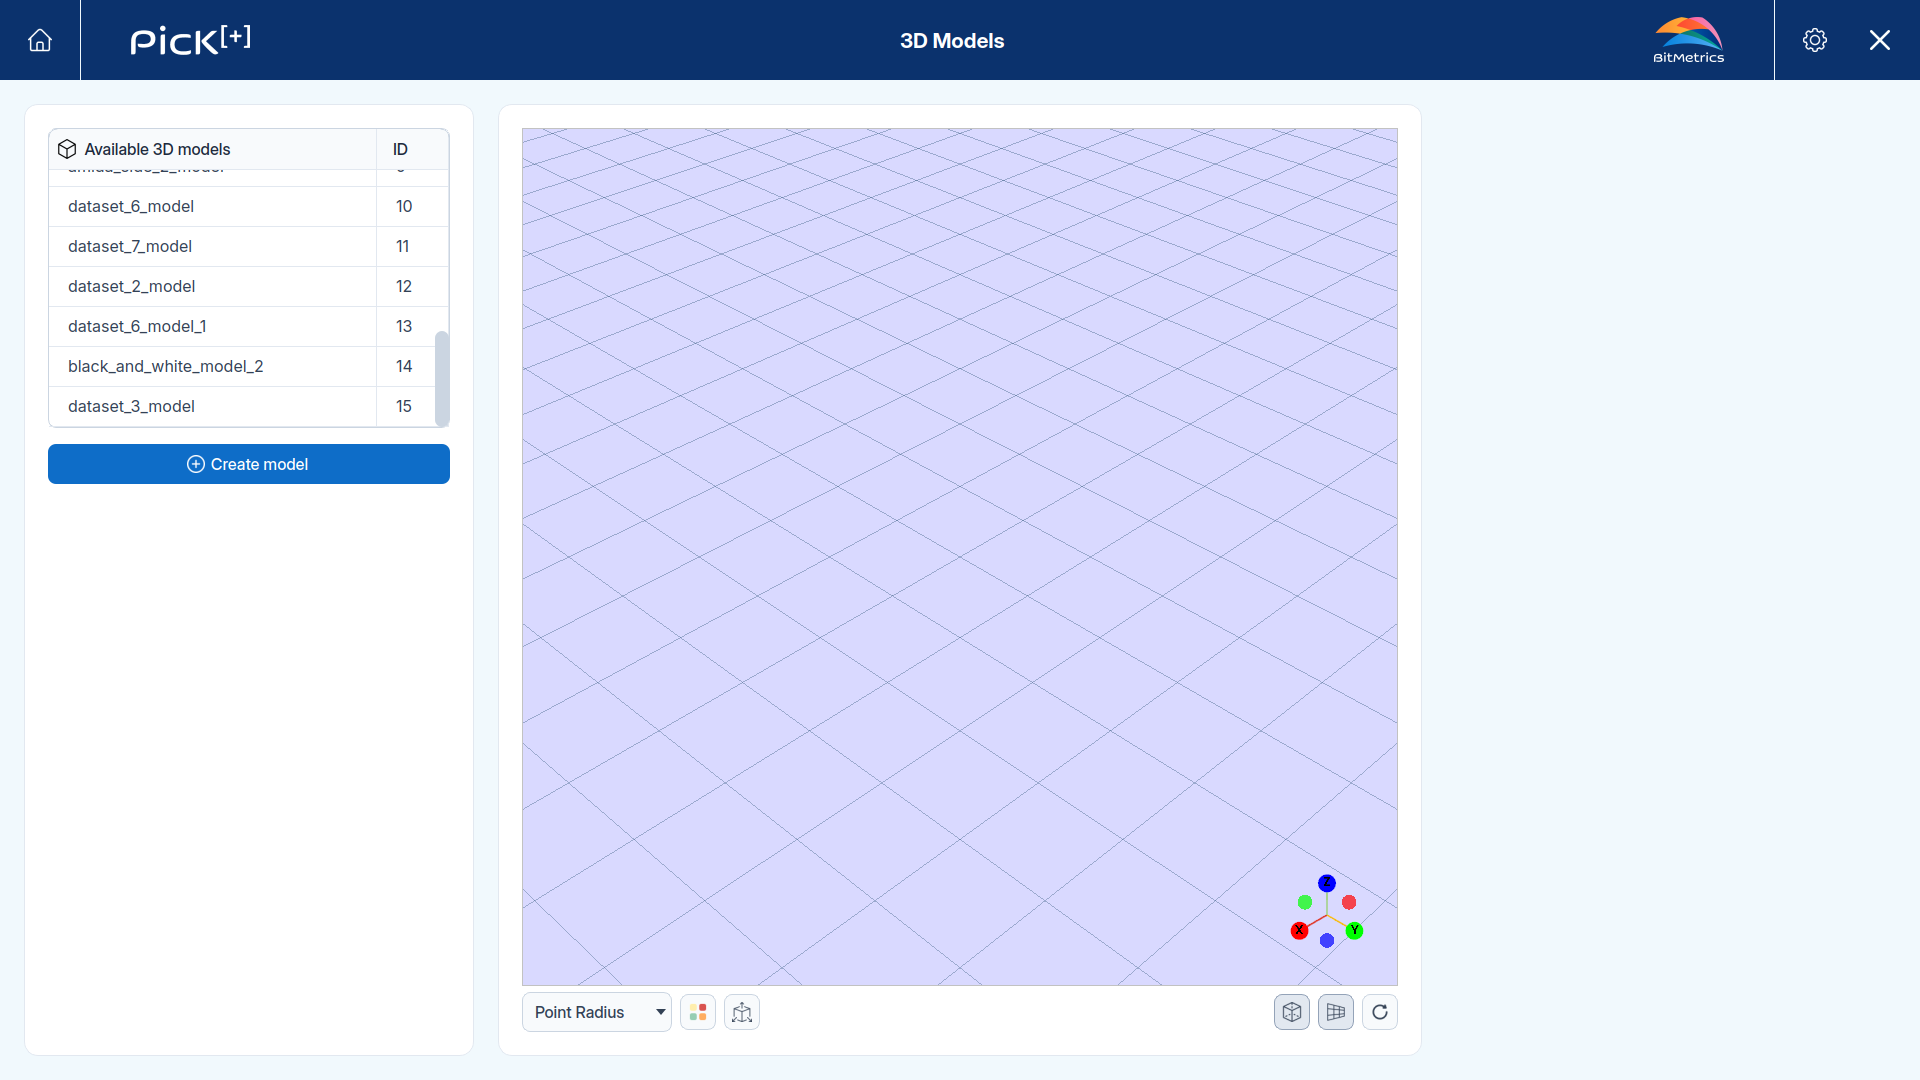
The left panel lists every 3D model already generated. Select a model from the list to load it into the viewer and see its details in the Model information panel on the right:
| Parameter | Description |
|---|---|
| Name | The model's name. New models are auto-named after their source dataset (for example, dataset_6_model), with a numeric suffix added for repeats |
| ID | The model's numeric identifier. Use it to filter which 3D models Pick[+] searches for: the models_ids parameter of pick_plus_config_trigger (UR), the models_ids{*} parameter of PP_ConfigTrigger (ABB), or the TRIGGER_3D_MODEL_ID registers (PLC). The PLC also reports back which model matched through the OUTPUT_MODEL_ID register |
Generate a 3D Model
Click Create model below the models list to start generating a new 3D model.
1. Select a Dataset
A list of datasets appears under Select a dataset to generate the 3D model. A dataset here is one of the scans already captured in Data Generation, whether it belongs to a reference or is still standalone.
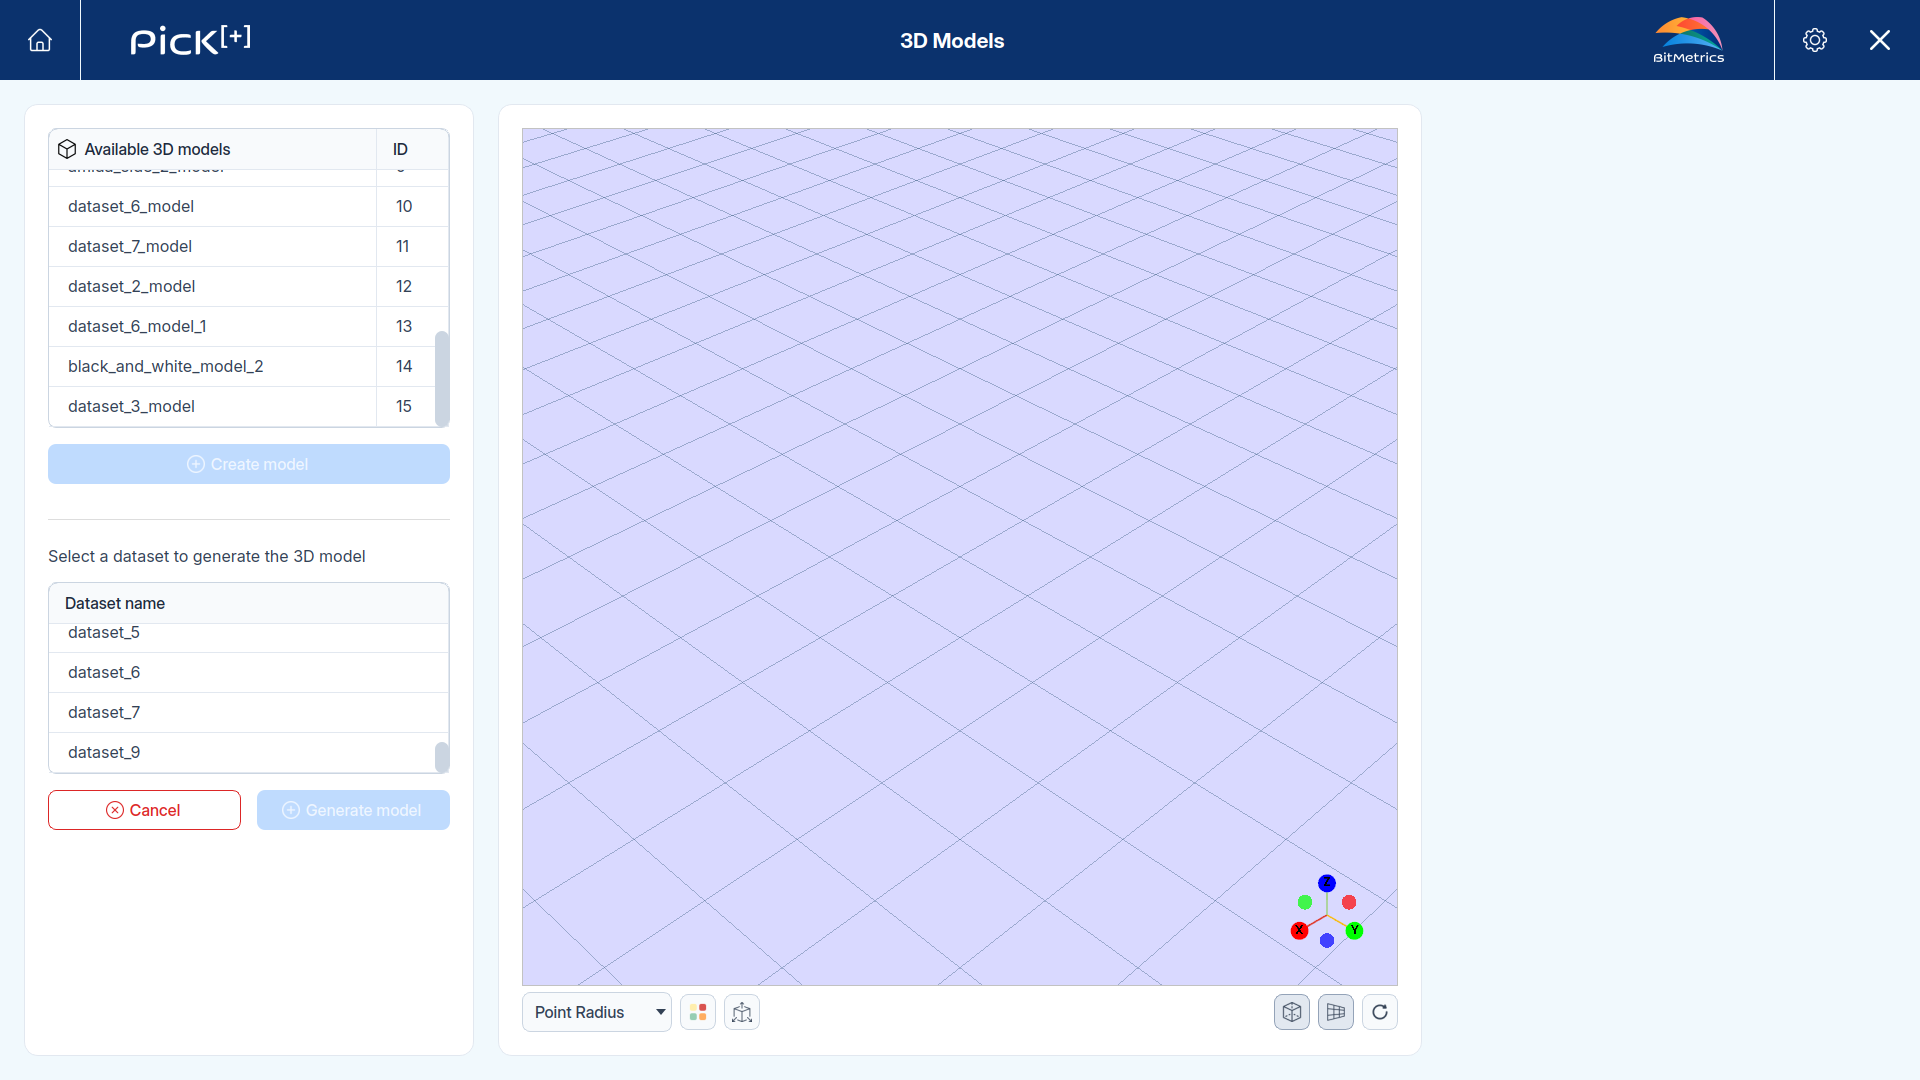
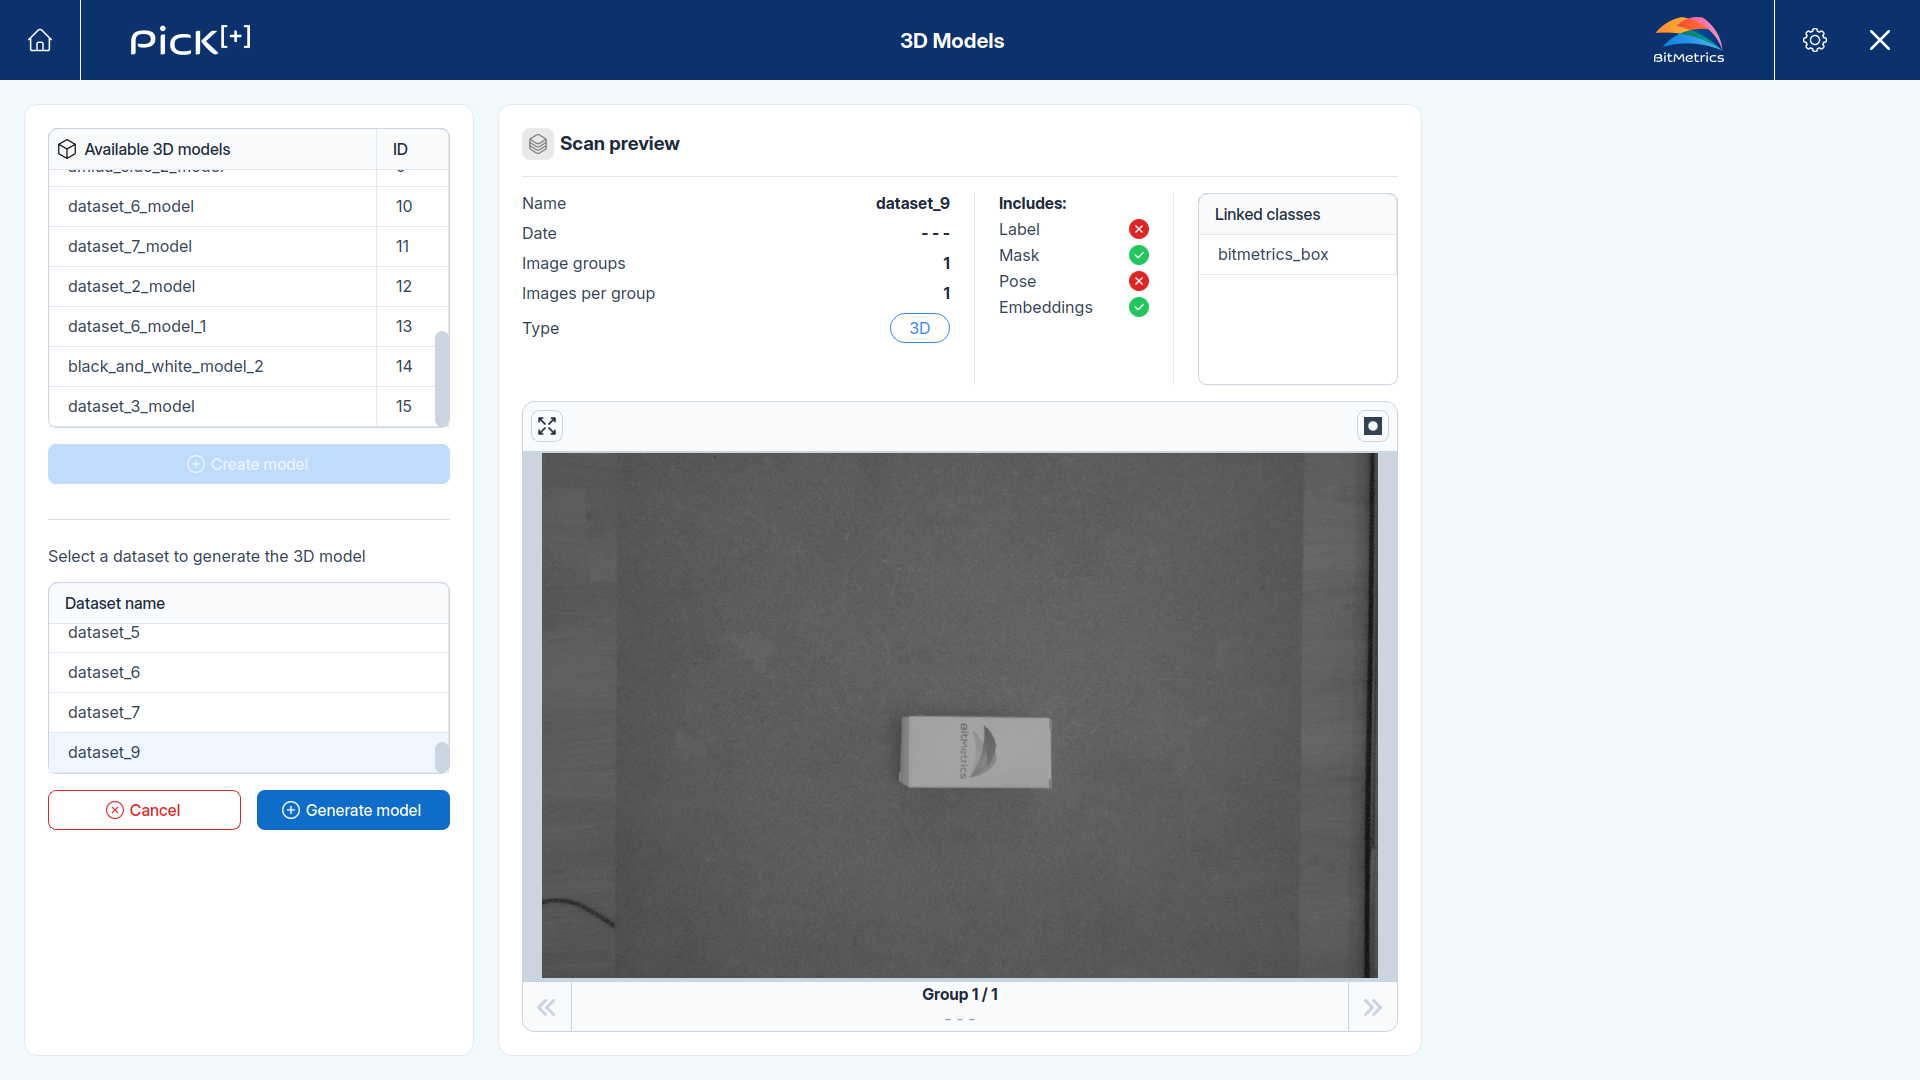
Click a dataset in the Dataset name list to select it. A Scan preview panel opens showing that dataset's details before generating the model:
Use a 3D scan
Only a scan that holds 3D data can generate a 3D model. Check the scan's Type in the preview before generating.
2. Generate the Model
Once a dataset is selected, click Generate model to build the 3D model from it. Pick[+] processes the scan's point cloud and adds the resulting model to the Available 3D models list, auto-named after the source dataset.
Model Information
Selecting a 3D model loads its point cloud into the viewer and shows its details on the right panel:
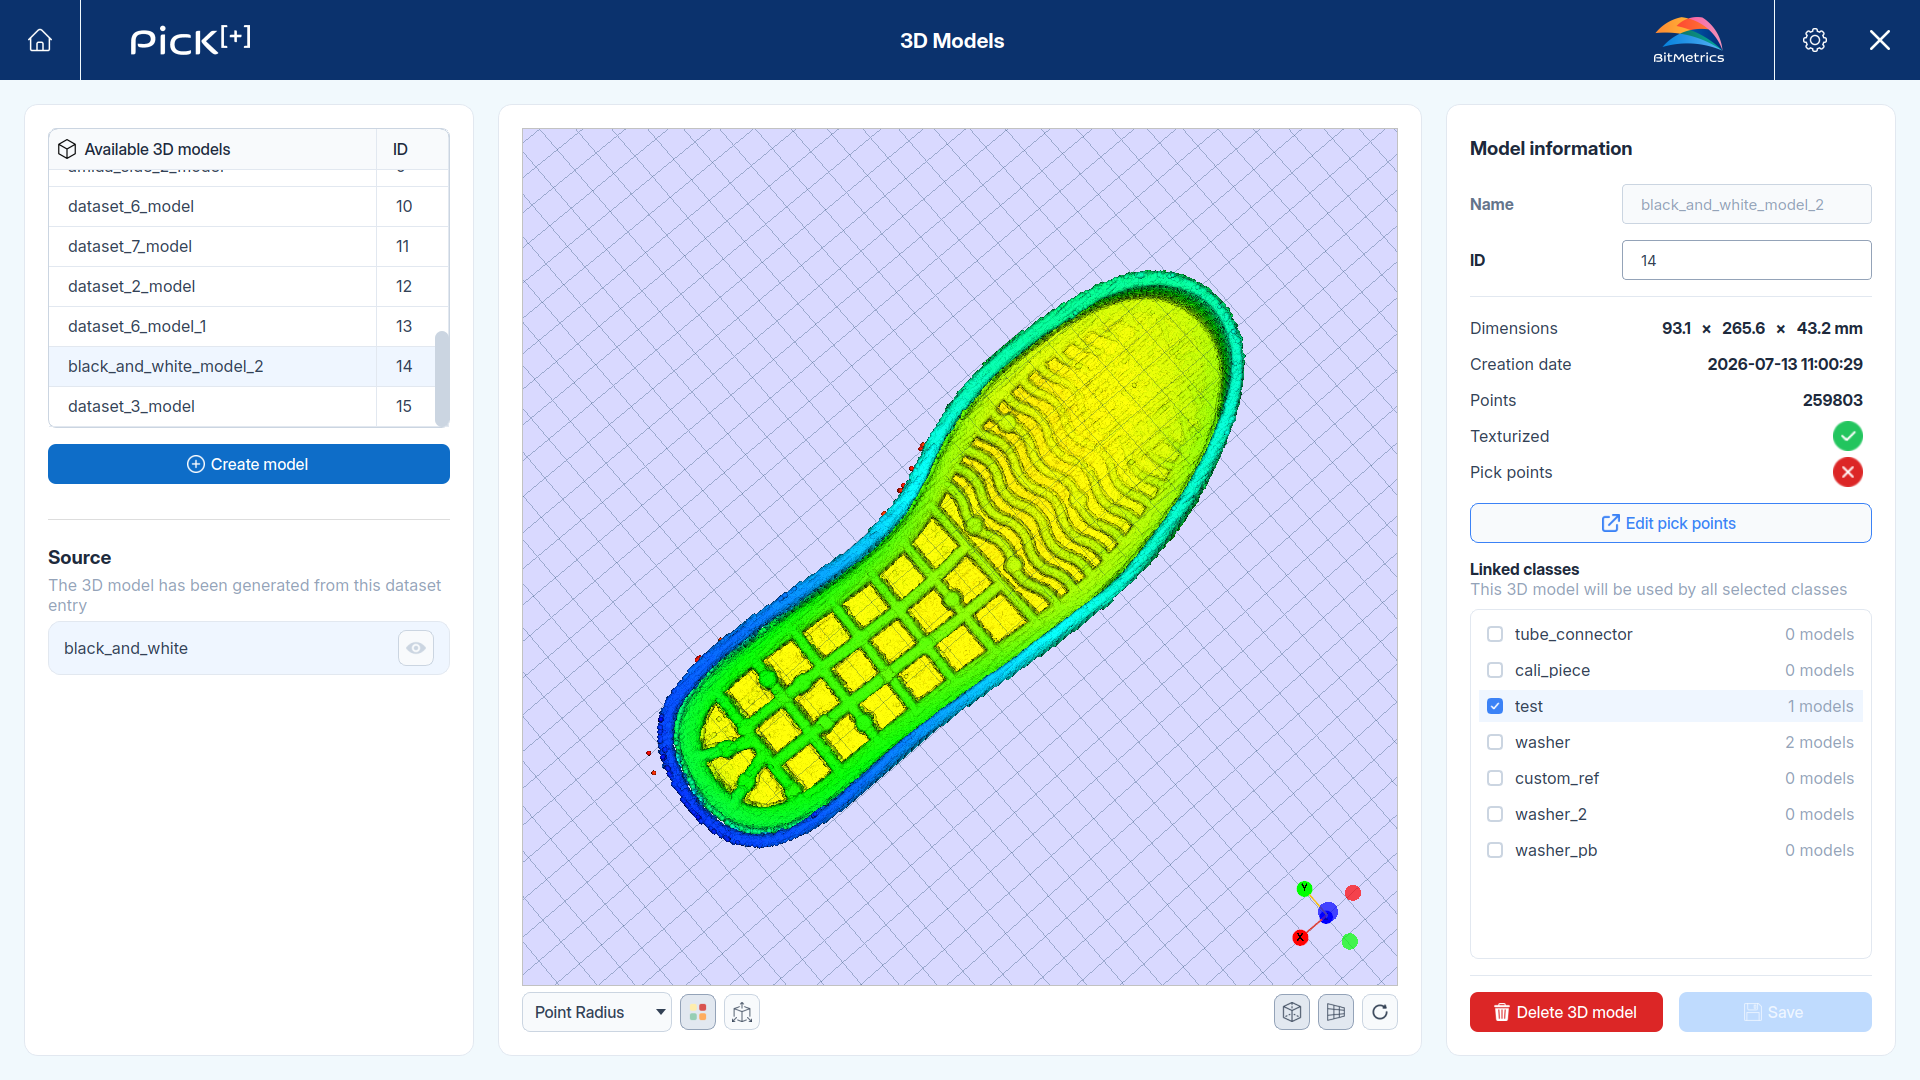
The viewer uses the same visualization toolbar as the Pick Points Editor, it only affects how the point cloud is displayed, not the model itself.
| Parameter | Description |
|---|---|
| Name | Editable name for the model |
| ID | The model's numeric identifier, see Available 3D Models for where it's used in the robot program and PLC |
| Dimensions | The model's bounding box, in mm (width x height x depth) |
| Creation date | When the model was generated |
| Points | Number of points in the point cloud |
| Texturized | Whether the model has color/texture data, not just geometry |
| Pick points | Whether pick points have already been defined for this model |
Edit Pick Points
Click Edit pick points to open the Pick Points Editor for this model.
Linked Classes
The Linked classes list shows every reference registered in Data Generation, with a checkbox for each and how many models are already linked to it (N models). Check a reference to link this 3D model to it, this is what lets Pick[+] use the model to place pick points for that reference.
Info
A 3D model can be linked to more than one reference at once, it will be used by every class selected in this list.
Click Save to apply your changes, or Delete 3D model to permanently remove the model.
What's Next?
-
Pick Points
Define where the robot should grasp the object, using the 3D model you just generated.