Picking Strategy
The last step of the application wizard sets the rules that turn many valid options into the single pose sent to the robot.
After a capture, Pick[+] usually holds more than one detected object, and more than one feasible pick point on each of them. This step resolves that in two stages, first which object to go for and then which point on it. Two angle limits then discard the poses the robot should not attempt at all.
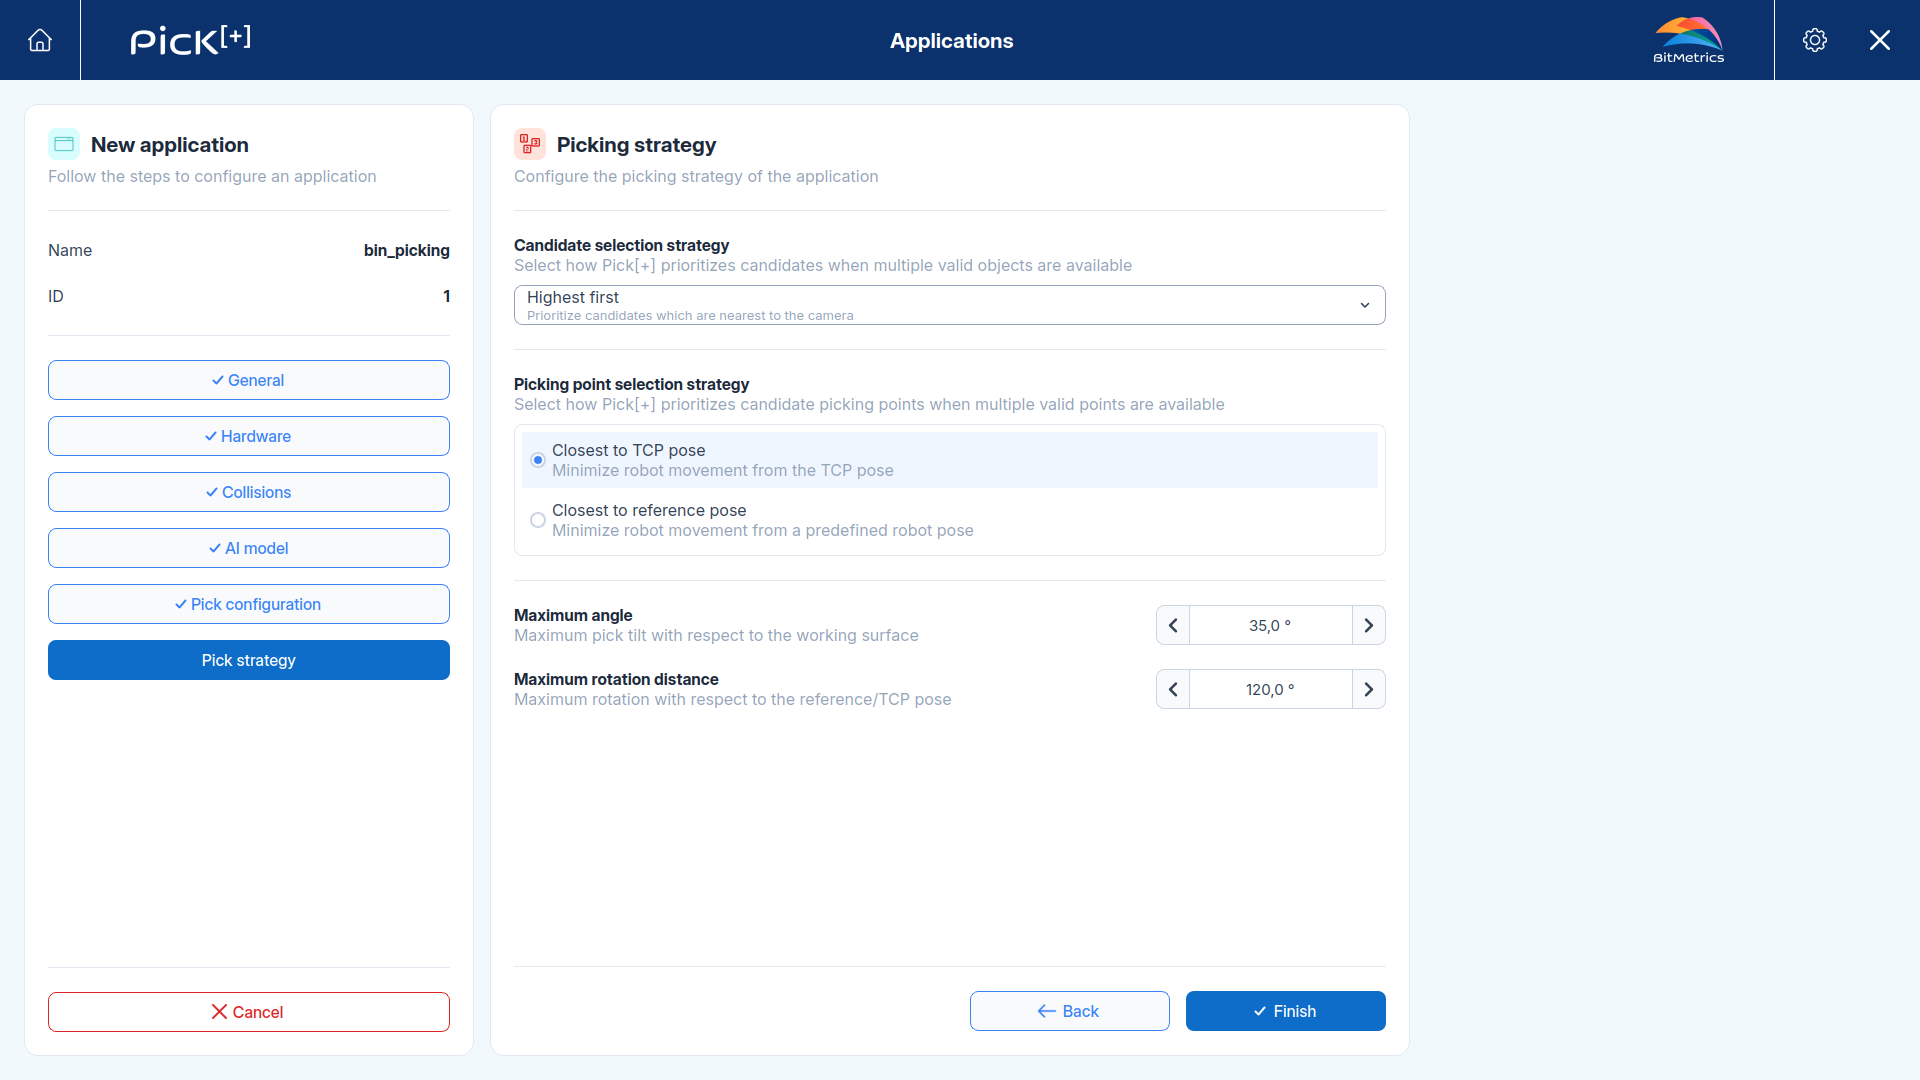
Candidate Selection Strategy
Decides how Pick[+] prioritizes candidates when multiple valid objects are available.
| Option | Description |
|---|---|
| Highest first | Prioritizes the candidates nearest to the camera, that is, the objects sitting on top of the pile |
| Largest first | Prioritizes the candidates with the largest segmentation mask |
| Least occluded | Prioritizes the candidates that are not covered by other elements |
-
Highest first empties a bin from the top down, which is the safest default. The topmost object is the least likely to be trapped under others, and pulling it out does not disturb the rest of the pile.
-
Largest first favors the objects the camera sees most completely. A large mask usually means the part is fully exposed rather than buried, so the detection is more reliable and there is more surface available to grasp. It is also the natural choice when the bin mixes parts of different sizes and the bigger ones must come out first.
-
Least occluded goes directly for the objects that nothing else is covering, which is the criterion that best protects the surrounding parts from being disturbed during the approach.
Picking Point Selection Strategy
Once the object is chosen, this decides which of its pick points is used. Both options minimize robot movement, they differ in what they measure the distance from:
-
Closest to TCP pose
Minimizes robot movement from the current
TCPpose, meaning wherever the tool happens to be when the capture is triggered.Use it when the robot approaches the bin from a different position on each cycle, so the shortest move depends on where it currently is.
-
Closest to reference pose
Minimizes robot movement from a predefined robot pose that you enter here. Selecting this option opens a coordinate selector where the reference pose is defined as
X,Y,Z,RX,RY,RZ.Use it when the pose the robot happens to be in at trigger time is not meaningful. This is typical of
Eye-to-handapplications, where the camera is fixed, so the capture can be triggered while the robot is somewhere else entirely, for example in the middle of a drop-off. Measuring distances from that transient pose would be arbitrary, so a fixed pose representative of where the robot returns from is used instead.
Angle Limits
The two remaining parameters discard poses that are geometrically valid but undesirable for the robot.
| Parameter | Description |
|---|---|
| Maximum angle | The maximum pick tilt with respect to the working surface. A candidate whose approach axis leans more than this from the surface normal is discarded. Keeping it low favors vertical, top-down picks; raising it allows the tool to reach objects lying at steep angles, at the cost of getting closer to the bin walls |
| Maximum rotation distance | The maximum rotation allowed with respect to the reference or TCP pose used above. It caps how much the wrist has to turn to reach the pose, which prevents long reorientations and joint-limit problems on the way to the pick |
Maximum angle can be overridden at runtime
The value set here is the application default. The robot program or the PLC can send a different limit on each capture through the max_angle parameter of pick_plus_config_trigger (UR), PP_ConfigTrigger (ABB) or the MAX_PICK_ANGLE register.
Finishing the Application
Click Finish to save the application. It appears in the list on the Applications screen, where its full configuration can be reviewed and edited at any time.
The application is created but not yet running. To put it to work, select it as the active application and switch Pick[+] to Execution Mode from the Mode settings, or let the PLC select it by its Application ID.
What's Next?
-
Mode
Set the application as active and switch Pick[+] to Execution Mode.
-
Robot Application
Write the robot program that triggers the application and reads back the pick poses.