Applications
An application is one complete picking task, set up once and ready to run. It defines all the hardware involved in the process and the elements of the robotic cell, such as the tool and the scene. It also defines the AI model and what it has to detect, how the objects are grasped, the order they are picked in and the restrictions that optimize the cycle.
A single Pick[+] license can hold as many applications as needed, and the one that runs during execution is chosen either manually or by a PLC (see Mode).
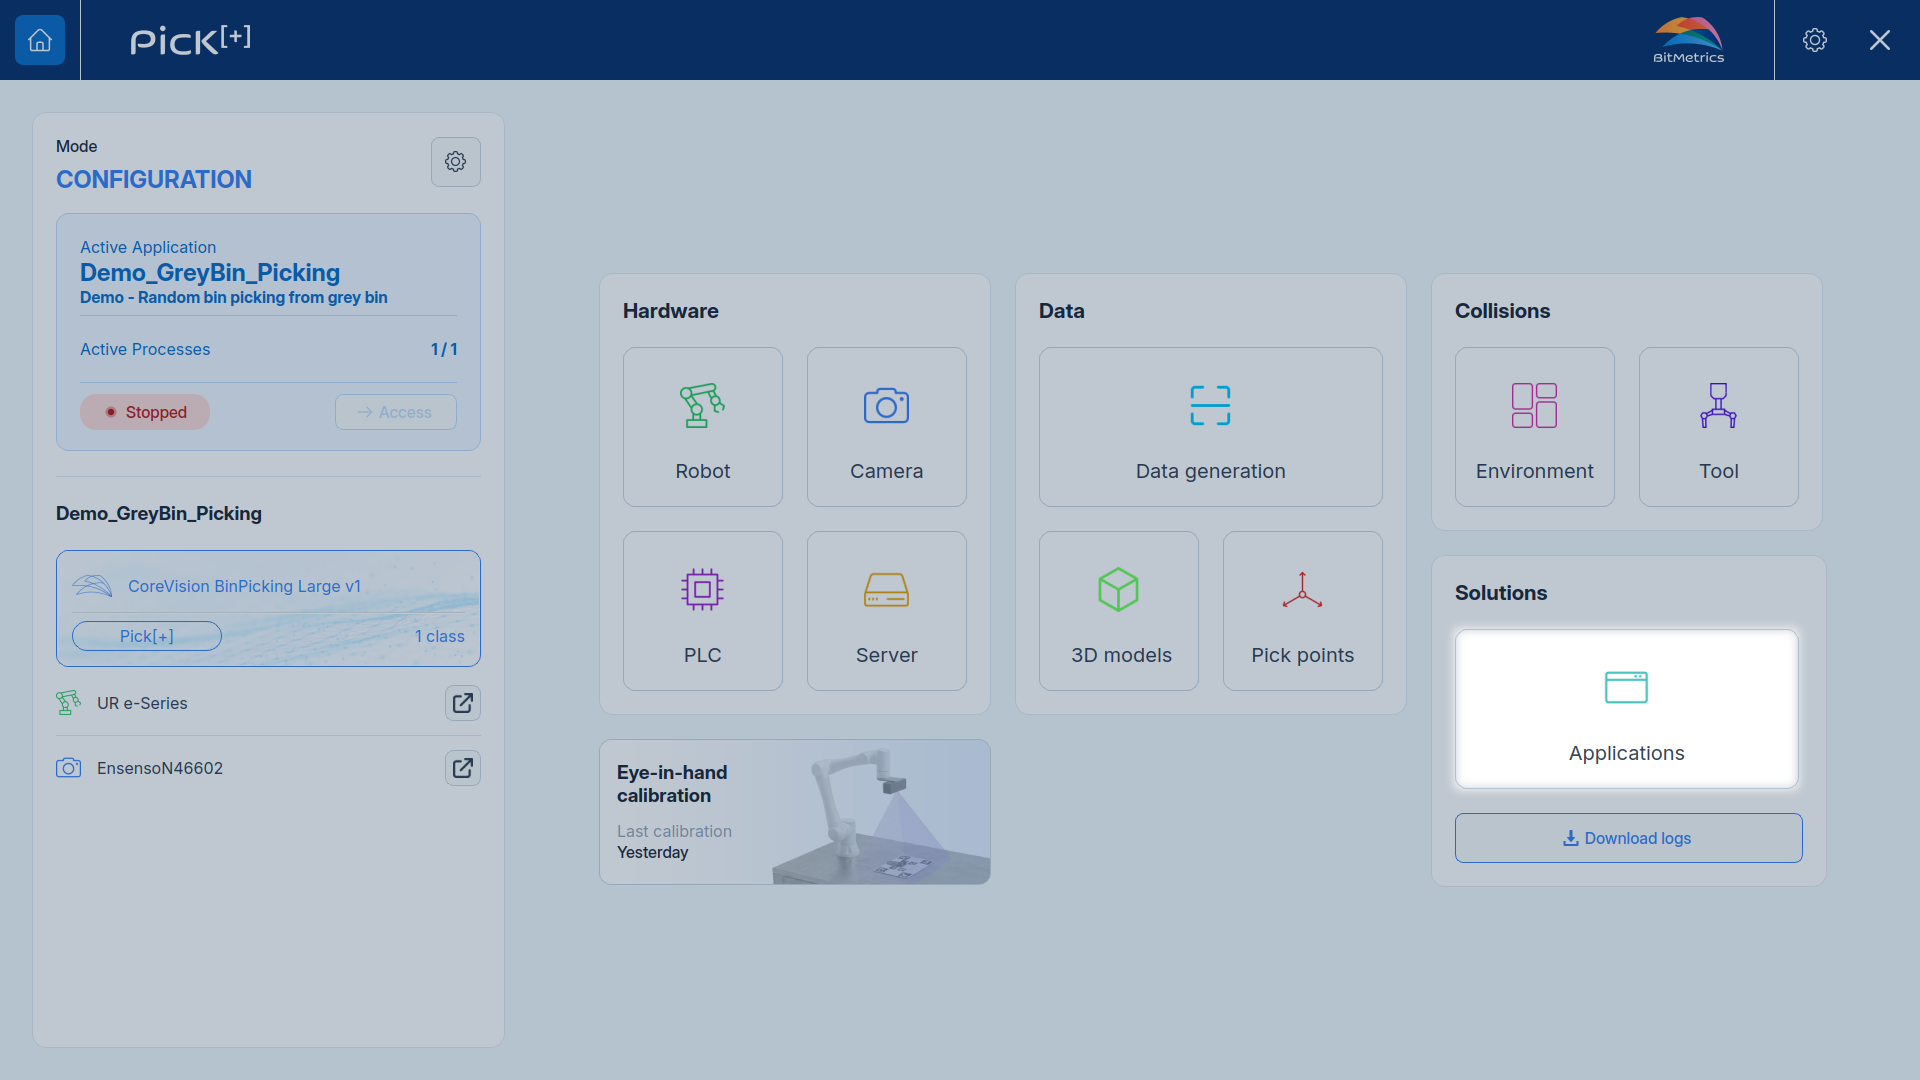
To open this screen, click Applications in the Home Screen.
Before You Start
An application only references pieces that already exist in Pick[+], it does not create them. Have the following ready before opening the wizard, or the corresponding step will block you:
| Requirement | Where to configure it |
|---|---|
A camera profile, and a robot or PLC profile |
Hardware Settings |
| A calibration between that camera and that controller | Camera-Robot Calibration |
| A picking tool | Tool in the Environment group of the Home Screen |
| An AI model | AI Model in the Home Screen |
| Optionally, an environment scene | Environment Scenes |
| For Geometry-Based Picking, 3D models with pick points | 3D Models and Pick Points |
| For Similarity-Based Picking, enabled references | References |
Application Summary
Selecting an application in the list loads its full configuration in the right panel. The Active badge next to the name marks the application that runs when Pick[+] is in Execution Mode. You can change which application is active from the Mode screen.
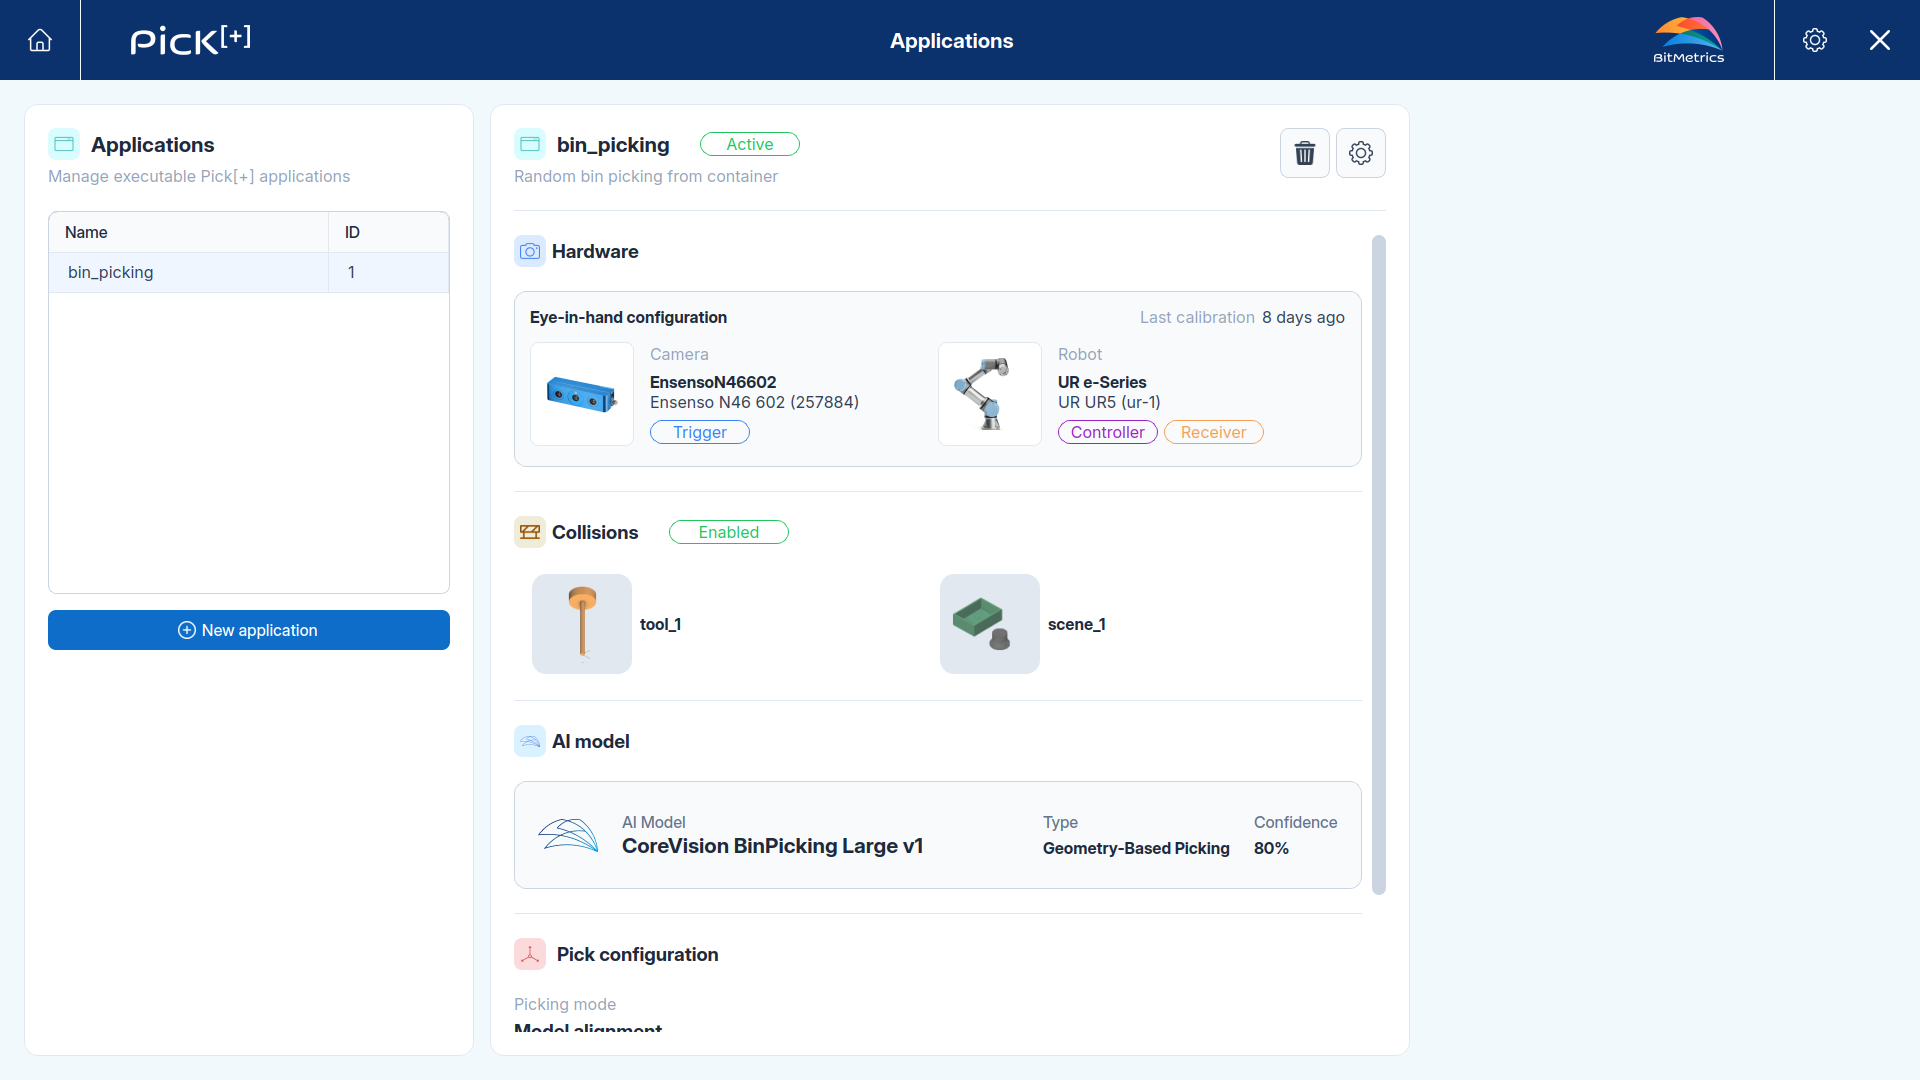
The screen is split in two:
- The left panel lists every application created, with its Name and ID, and holds the New application button.
- The right panel shows a read-only summary of the application selected in the list.
Click Edit to reopen the configuration wizard on the existing application, with every step already filled in.
Creating an Application
Click New application to open the configuration wizard. The wizard walks through six steps, listed in the left panel:
-
Name, ID and description.
-
Camera, controller and output receivers.
-
Picking tool and environment scene.
-
Detection strategy, AI model and confidence.
-
How pick points are obtained.
-
Which candidate and which pick point win.
What's Next?
-
General
Name and identify the application, and learn how the robot program addresses it.
-
Mode
Set the application as active and switch Pick[+] to Execution Mode.