K-Pick
The term K-Pick stands for known pick in the sense that objects to be picked are known by the user. Since they are known the user will generally be able to scan them with the help of the robot and camera and create image / point-cloud samples from them or directly upload its CAD model.
In order to use the K-Pick AI model, we need to provide Pick[+] with the visual and geometric data to learn the parts and plan collision-free pick motions. Here you'll scan real objects, turn those scans into 3D models, and then mark the exact points where the robot will grip.
Every object is unique: different shapes, textures and sizes. By capturing Samples through your camera and converting them into Models, Pick[+] trains a custom instance-segmentation model that knows exactly what to look for. Defining precise Picking Points on those models then guarantees your robot grips consistently, even in cluttered bins.
The four key steps
-

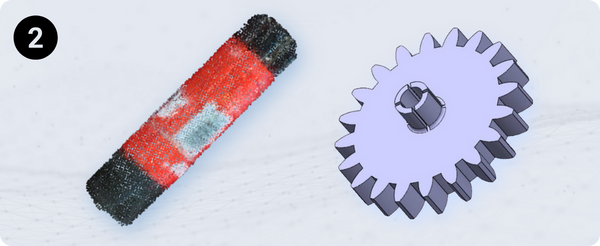
Scan your Samples
Use the camera-robot setup to collect multiple viewpoints and textures of each part.
-
Generate 3D Models
• 3D Models from point-cloud scans
• Import CAD Models -
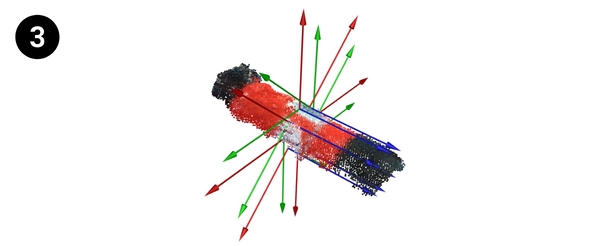
Define Picking Points
Manually click on the model to place the picking points on the 3D model.
-

Train AI model
Once your samples, models and points are ready, create a K-Pick application and start the training process.
Getting started
To dive in, click K-Pick and then Data Manager on the Homepage:
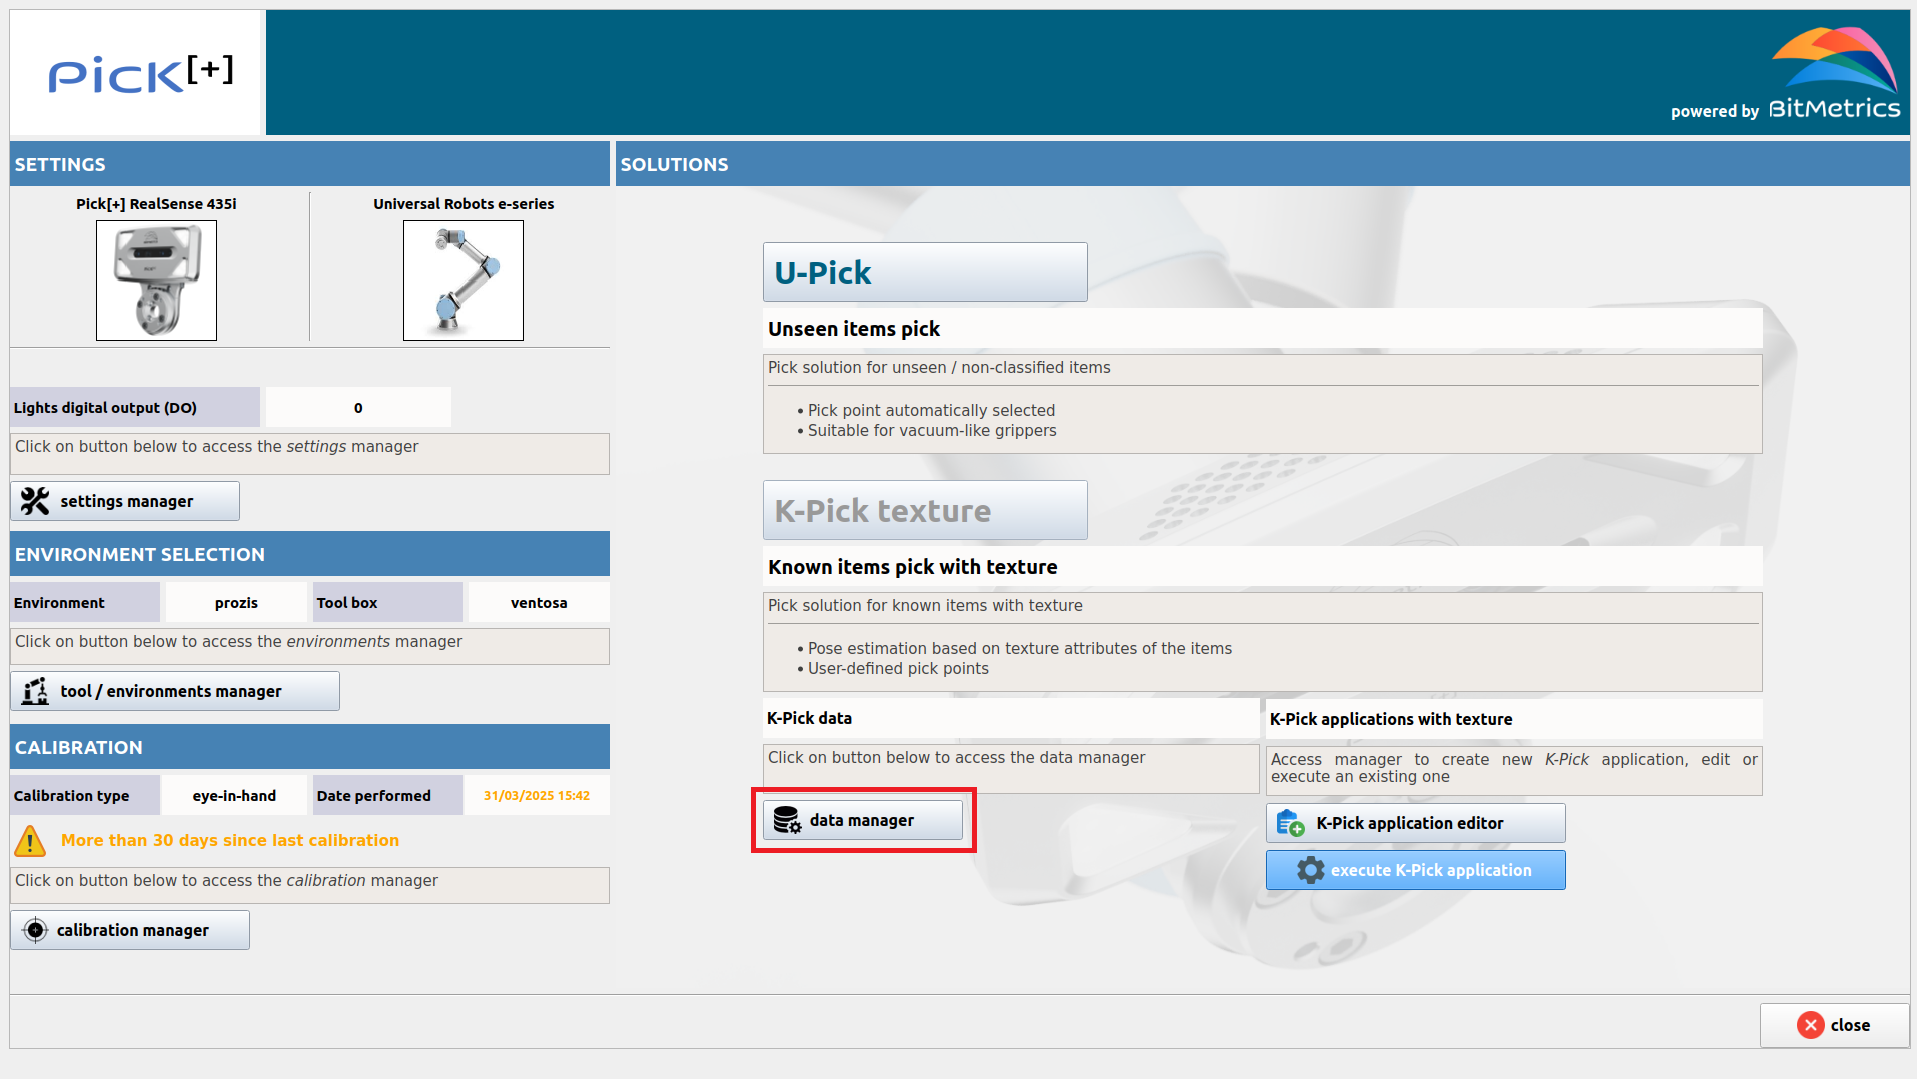
That opens the Data Manager, with separate sections for Samples, Models, and Picking Points. Start with Samples to capture your first object.