Quick Start
This guide will help you launch Pick[+] Client and verify that everything is correctly set up.
In just a few steps, you'll be ready to explore the platform and start building your first application.
Before you begin
Make sure your system meets all System Requirements. This includes OS version, display scaling, and minimum screen resolution.
Setup Modes
Pick[+] supports two usage modes:
✅ Standalone Mode: The client runs directly on the Server PC ➜ No extra installation required, just launch and go.
✅ External PC Mode: The client runs on a separate PC connected via Ethernet ➜ Manual setup is required for network, IP config, and client app. Check Running the Client in External PC Mode

Pre-checks
For External PC Mode, before launching Pick[+], confirm the following:
- Server PC is running
- Client PC is connected via ethernet in the dedicated socket
- Client PC's Ethernet adapter is set to IP 200.200.1.1 (or any address in the 200.200.1.0/24 network, except 200.200.1.100, which is the server's address).
- Display scale is 100% (when using Windows)
- Resolution is at least 1920×1080
What's next?
-
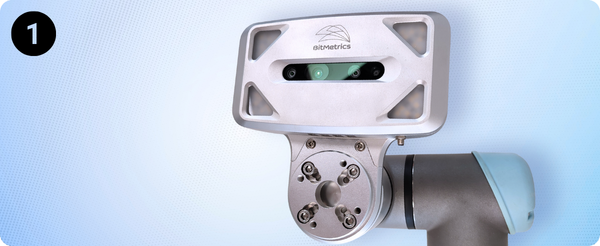
Hardware Settings
Define your hardware configuration for Pick[+]
-
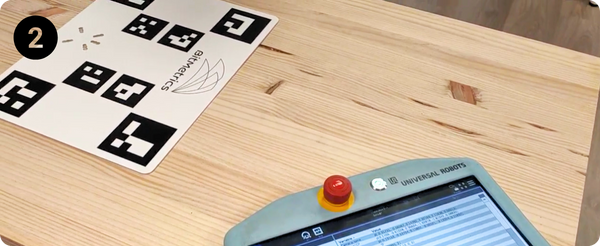
Camera Calibration
Callibrate the camera to obtain the most precise picks
-
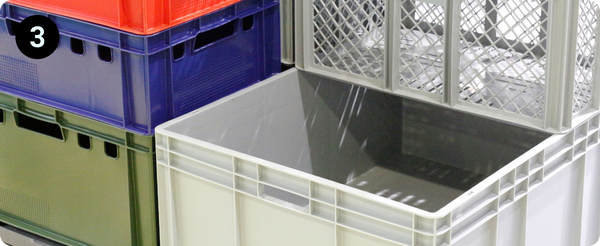
Environment Definition
Define the physical workspace used during operations
-
![Launch Pick[+]](/1.x/assets/1.x/user_guide_assets/configuration/quick4.png)
Application
Create a U-Pick or K-Pick application
- Use the Configuration block to set up your robot, camera, and environment.
- Then move to Applications to build or run a Pick[+] workflow.
Something's not working?
Check our Troubleshooting Guide for common issues like:
- Unable to connect to the server
- Objects not detected in the scene
- Segmentation results are poor or inconsistent