Picking Points
We can select pick points on 2.5D and 3D object models to grab the item. By doing so we enable the user to define oriented, precise place positions for the items.
In a 3D bin picking context it is advisable to select a sufficient number of picking points on the object in order to maximize the likelihood that, in the face of occlusions in the candidate object to be picked, there will be at least one feasible picking point. For example, if we are dealing with 2.5D models generated from the scanned views, we could select at least one picking point per view to maximize the likelihood of the presence of feasible picking points in the scene.
Likewise, if we are dealing with revolution solids it is advisable to define picking points as revolution points (see Revolution points below).
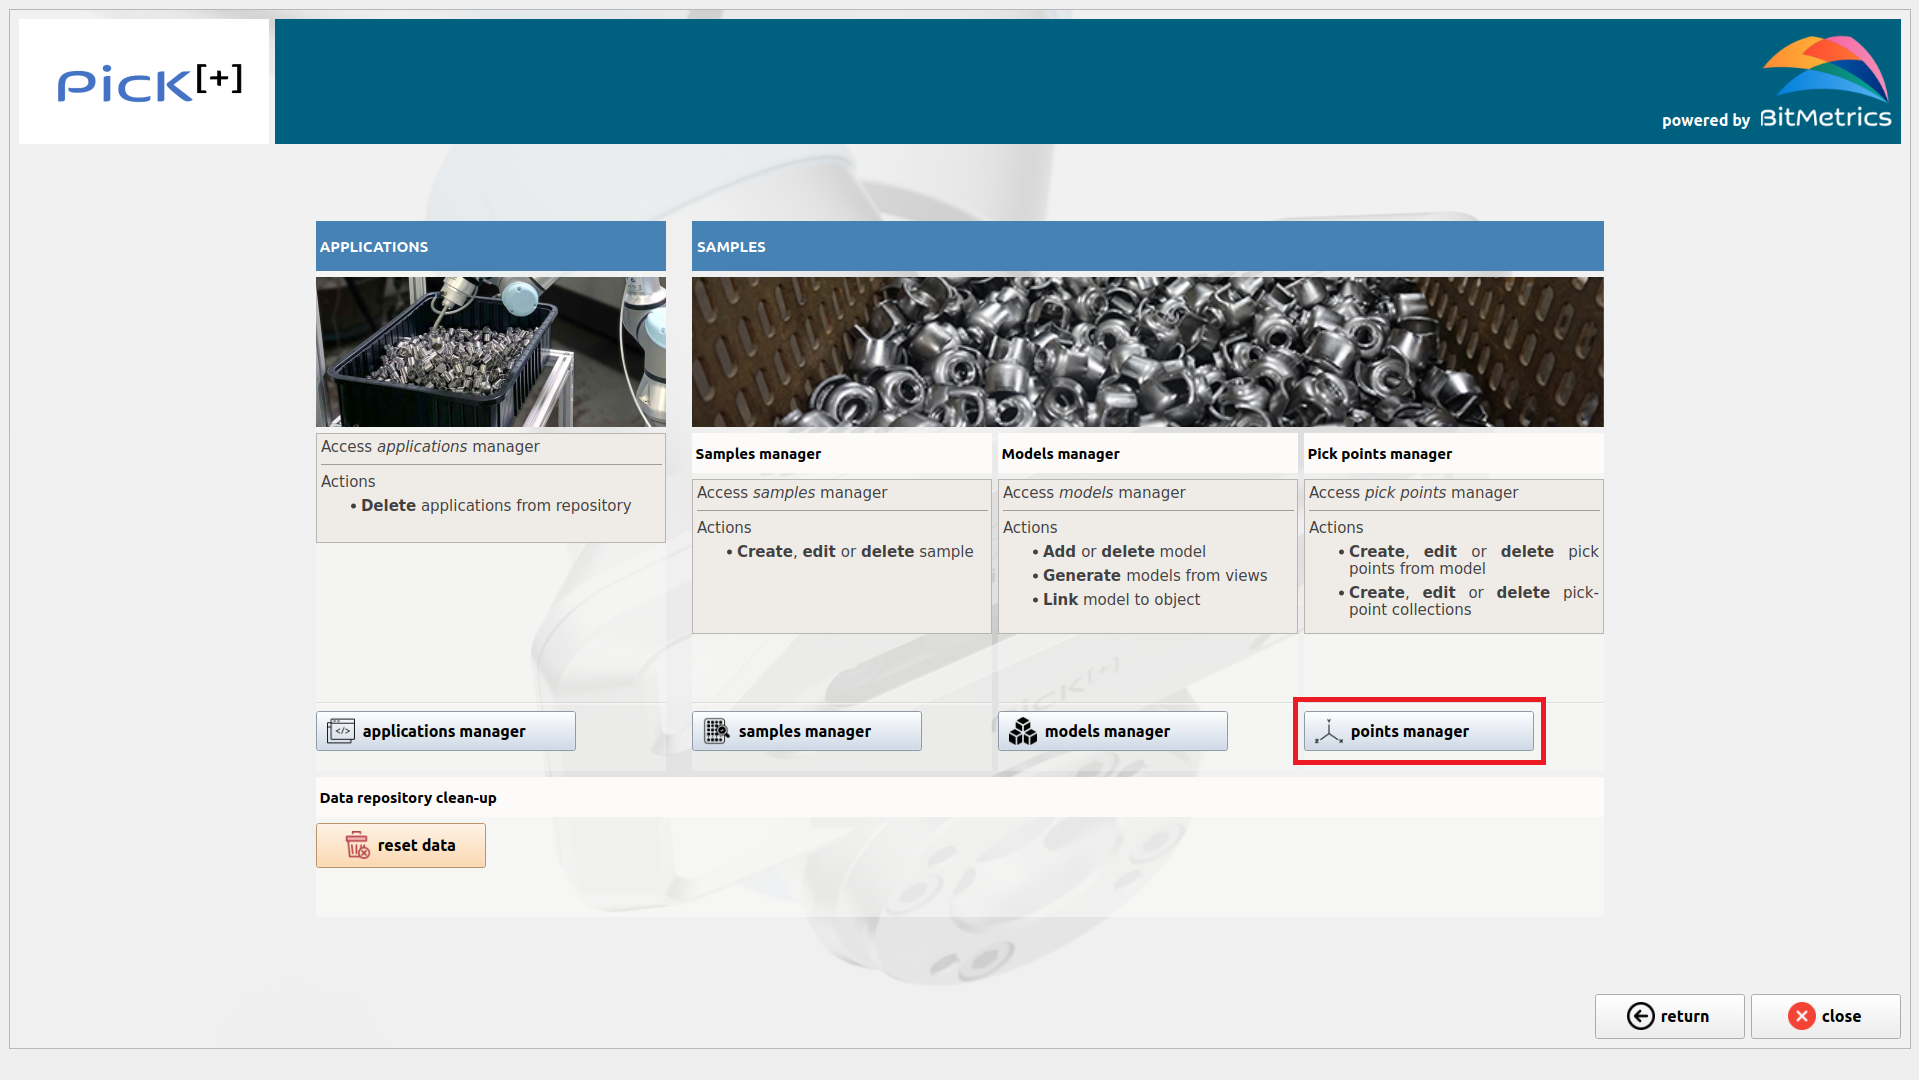
To start adding picking point, click Points Manager inside the Data Manager
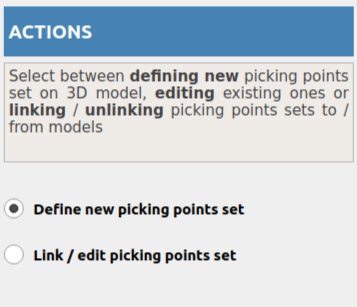
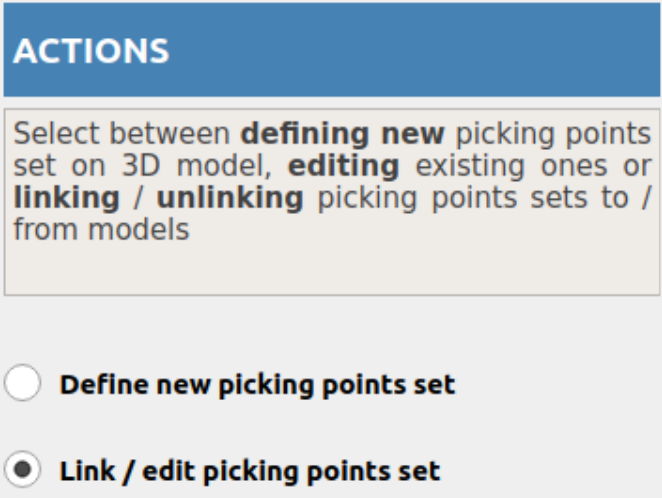
Define a new picking point set
To define a new set of pick points select the button Define new picking points set under the heading Actions
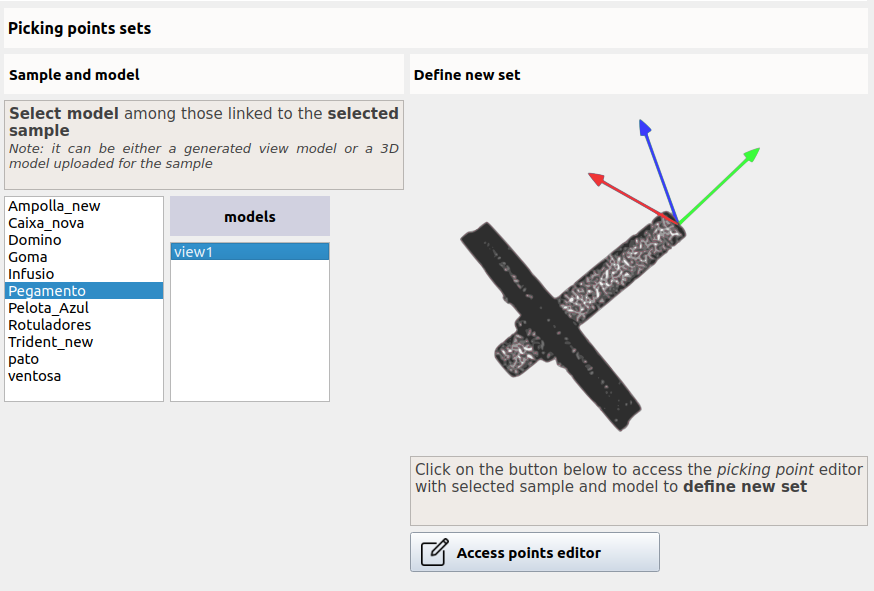
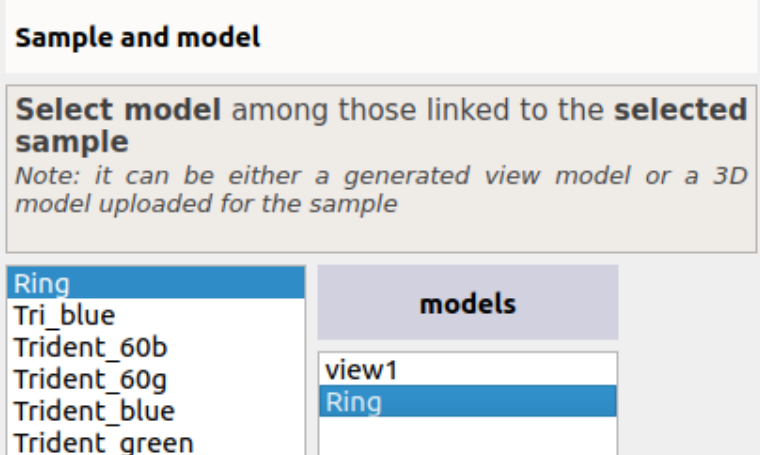
First we select the sample for which we want to define a new set of picking points. In the Models list we will see all the models that are linked to the selected sample (if any): we can have a CAD 3D model uploaded from the local repository that is linked to the selected sample and the 2.5D models generated from the scanned views of the sample.
Note
Go to Link Models to see how to link CAD 3D models to a sample and / or how to generate 2.5D models from views.
We can define picking point sets for all the models independently.
To proceed, select one model from the list and click Access point editor.
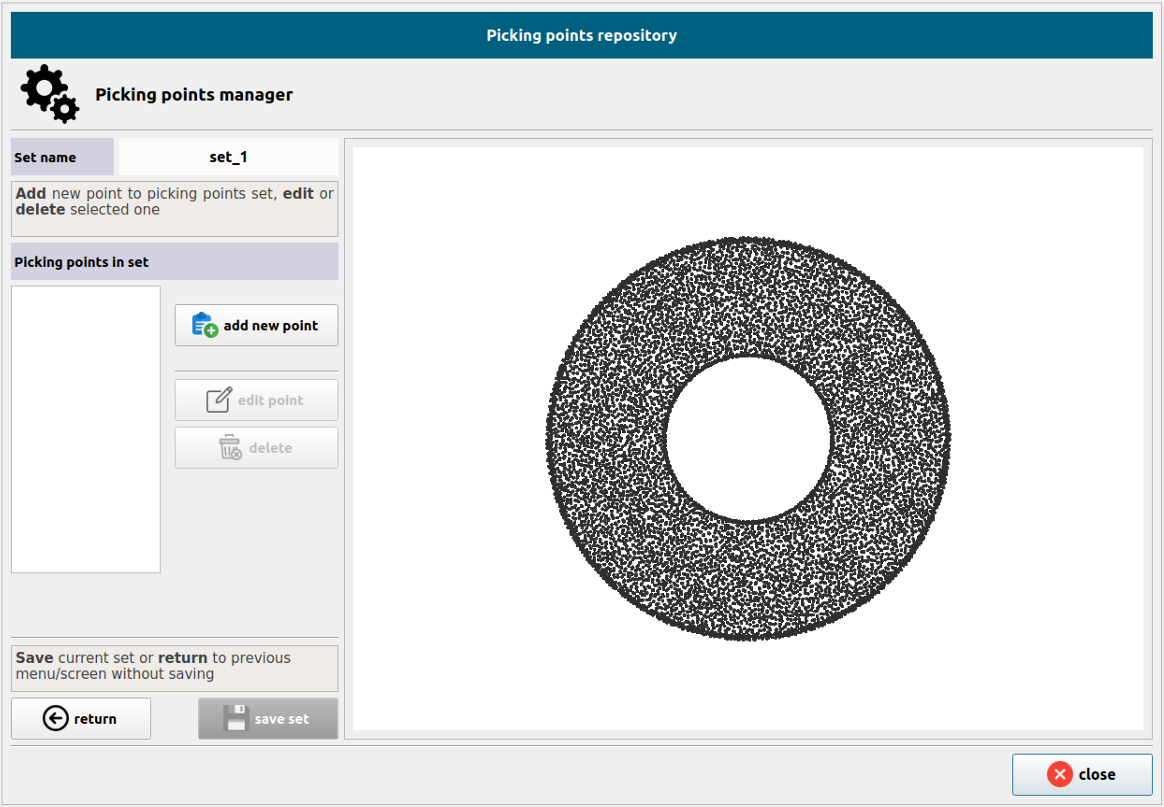
Picking points sets are named automatically: the first set we define for a given model will be named set_1, the second set will be named set_2 and so on. Names are not editable.
To add a picking point to the newly created set click Add new point
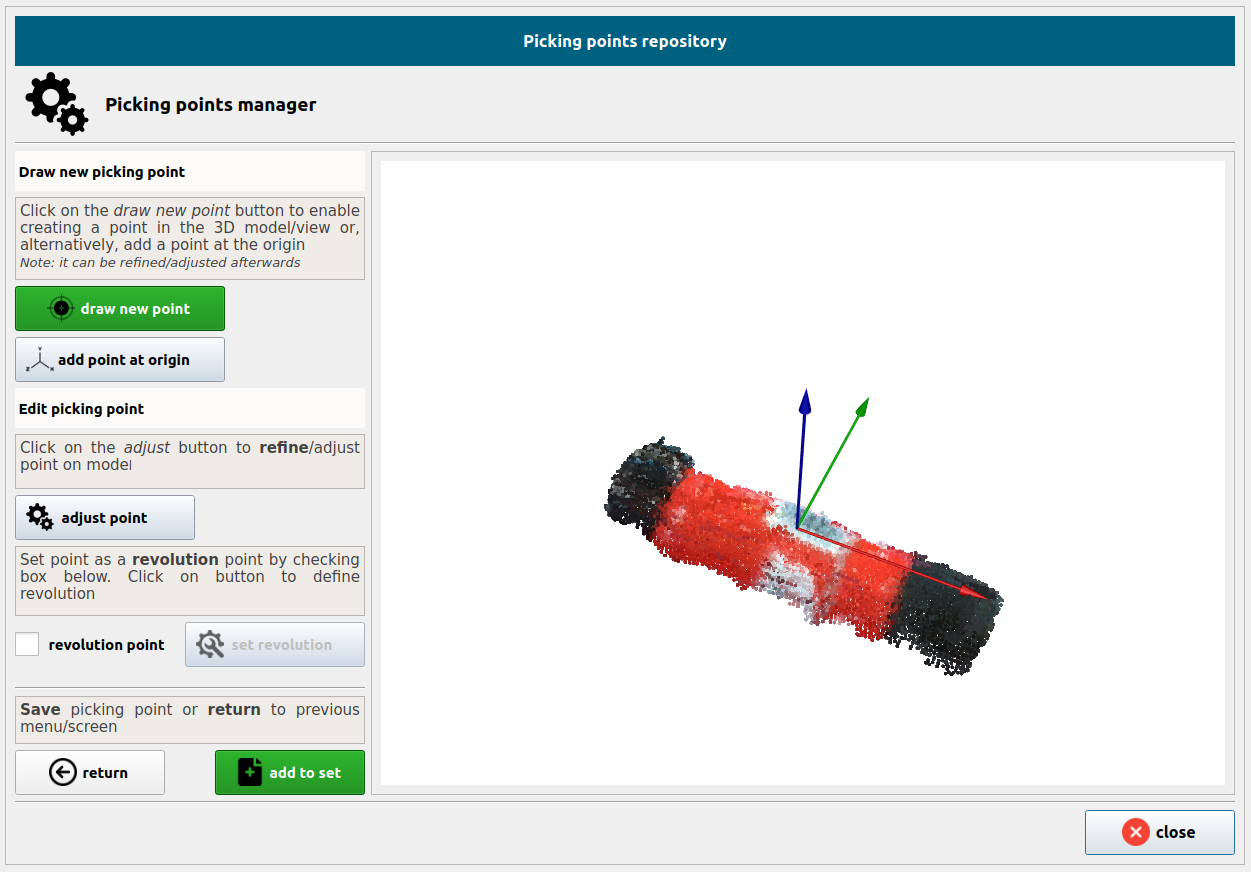
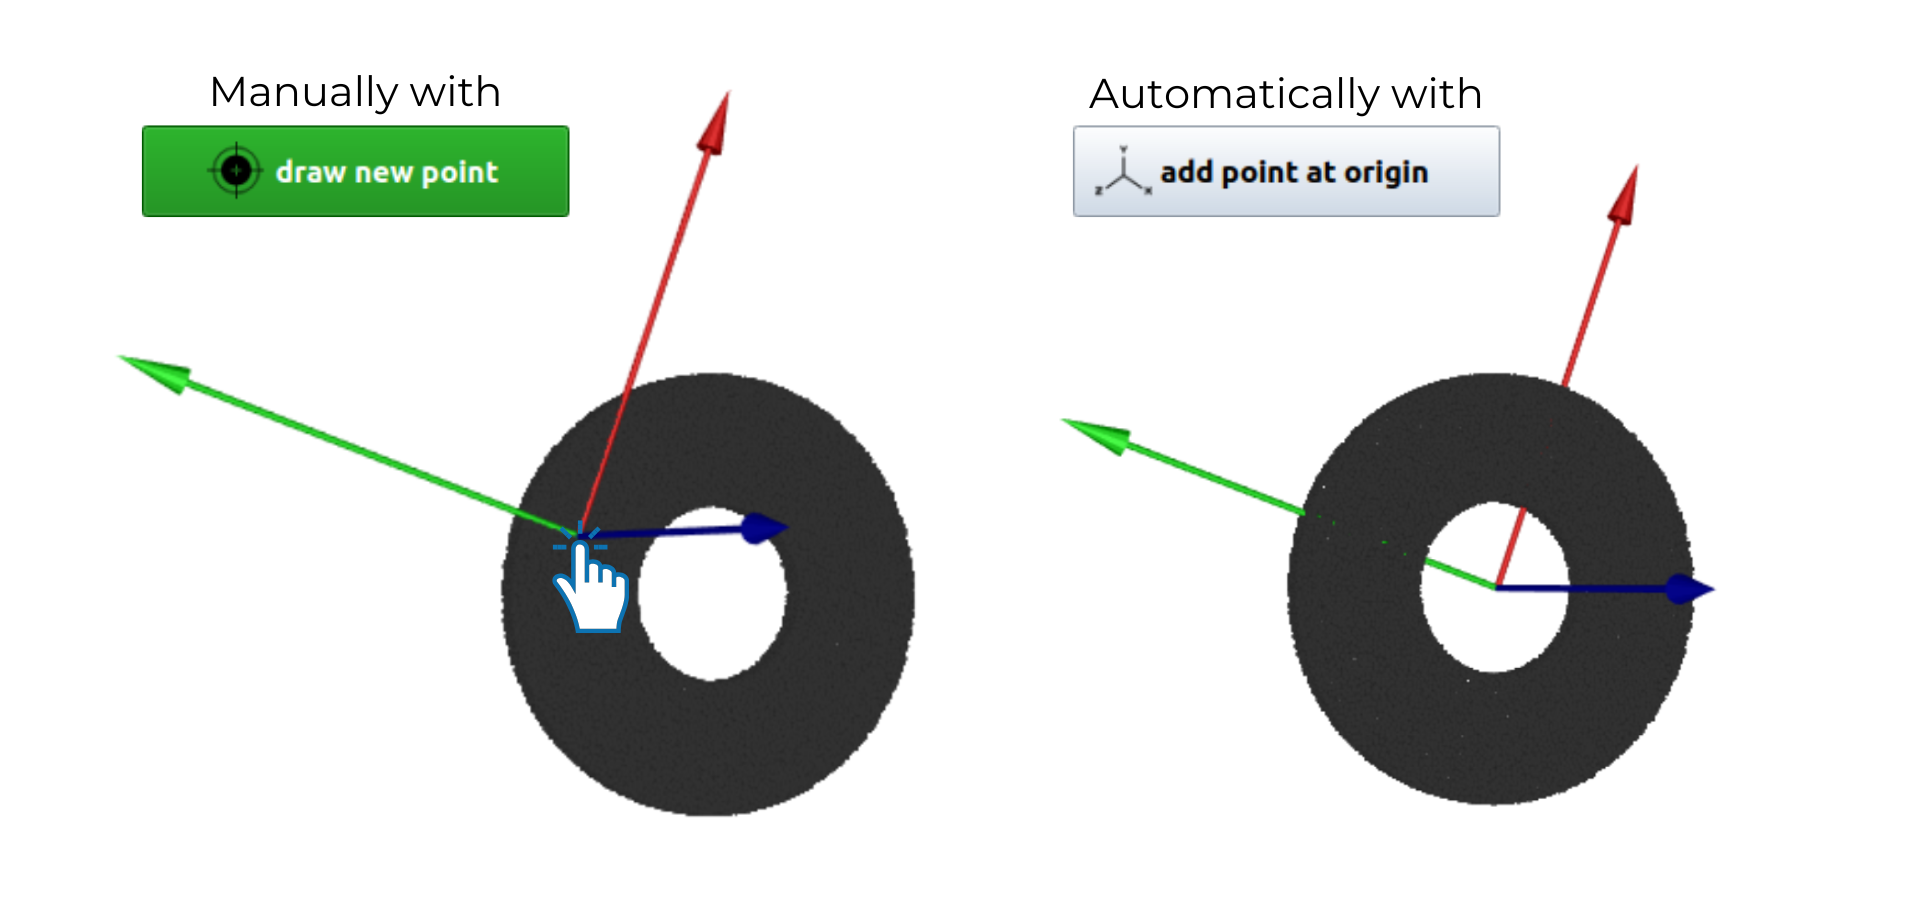
To place a new point on the model there are 2 options we can use:
-
Click
 and then click on the model around the area where you want to define the new picking point (it can be refined afterwards).
 -
Click
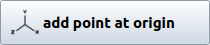 and place a new picking point at the origin / center of mass of the model (it can be refined later)
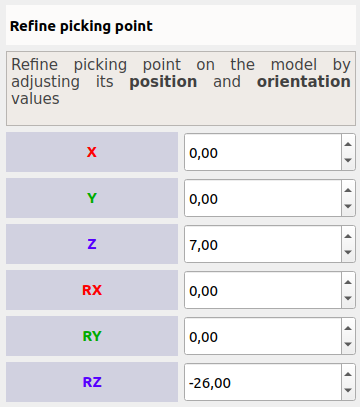
To better adjust and refine the position and orientation of the point, click 
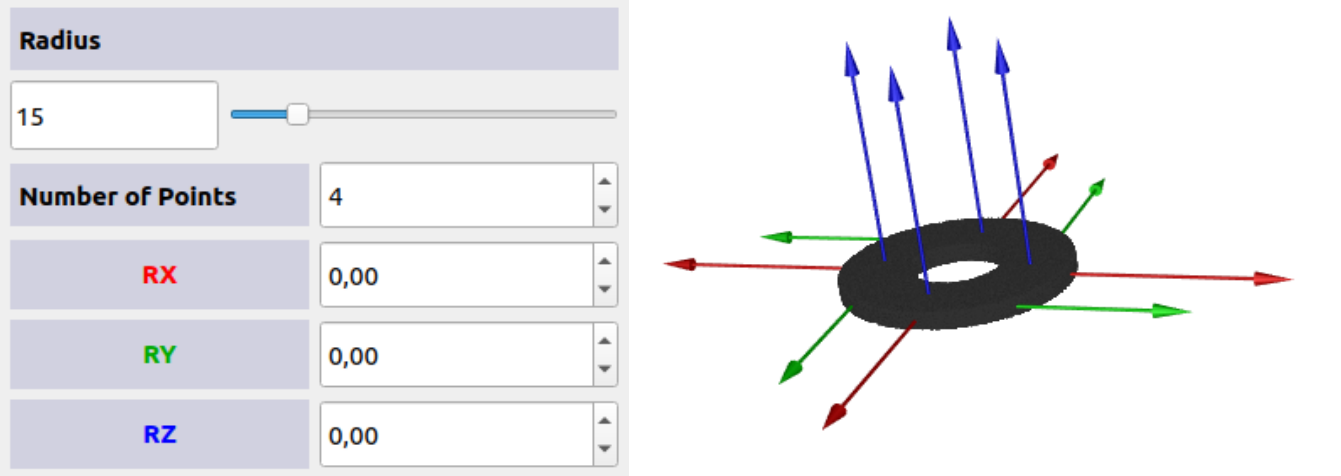
Revolution Points
If the object presents symmetries we can define what we call revolution points (e.g., a ring like the one we have considered as an example in this section is a revolution solid along the Z-axis, normal to the surface).
To add a revolution point, check the box Revolution Point and click Set revolution
In the revolution point editor, you can can adjust the number of points, radius and orientations as desired. By default eight points will be considered.
Once you finish defining a picking point, click Add to set.
And when the picking point set is completely defined, click Save set
Link / edit picking points set
To edit or link / unlink a set of pick points to a sample select the button Link / Edit picking points set under the heading Actions. Then select the sample of interest and the 2.5D or 3D model.
We will be able to see all the picking points sets that have been defined for this model and sample in the Sets list. We can now select the set and click Link / Unlink set to model to choose the desired action.
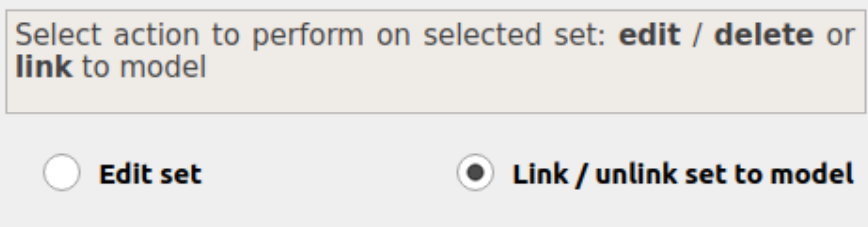
We can also edit or delete the selected set by selecting the button Edit set.
Note
Only sets that are not linked to any model can be deleted.