Environment Manager
Application environments are defined by sets of 3D containers or boxes from which we wish to perform a pick action. Definition of containers is used to:
- Avoid potential collisions when planning the pick trajectory. Ensures the robot's path never intersects with walls, fixtures or other objects outside your defined work zones.
- Limit the search and pick area to specific regions. Boxes define the exact 3D volumes where Pick[+] will look for and pick objects. When each camera trigger node is defined in the robot application, you can assign one of these containers, so Pick[+] only searches and plans picks within those specified areas. Check Pick Parameters.
To define / edit an environment go to Tool/Environment Manager on the Homepage and then click Environments Manager.
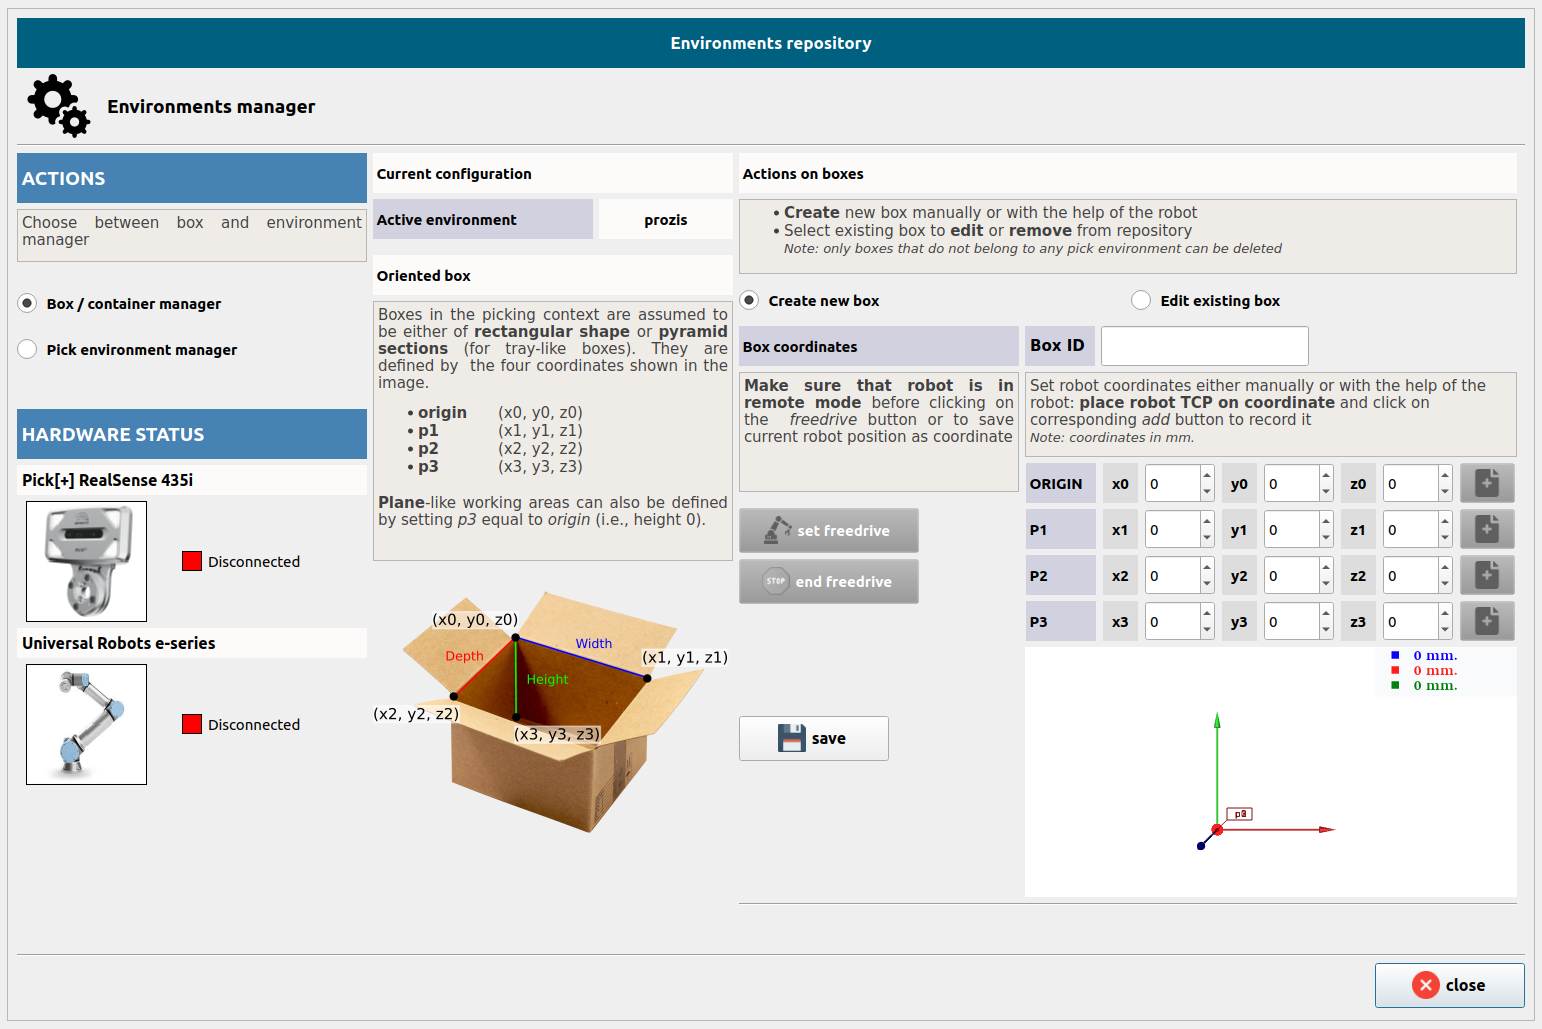
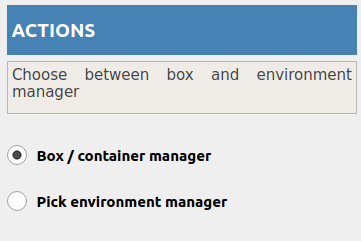
Box / Container Manager
To define / edit a new box from which we wish to perform pick actions select the Box / Container Manager option under the Actions heading.
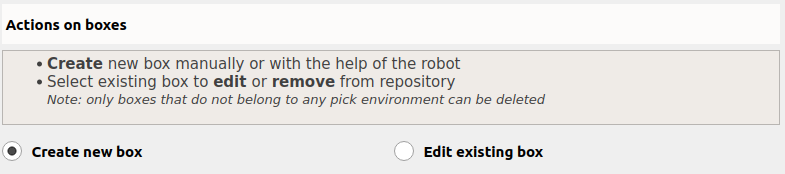
Create new box
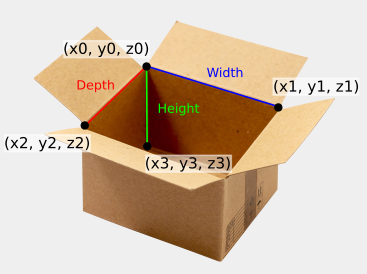
Boxes are defined as a set of 3D coordinates with respect to the robot base that form a 3D rectangle.
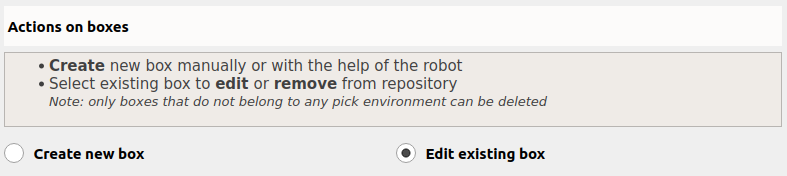
In order to proceed with the definition of a new box, select the option Create new box under the heading Actions on boxes.
To define the 3D container we need to provide four points: ORIGIN, P1, P2 and P3.
To proceed with the robot assistance first make sure that the robot is communicating with the Pick[+] server.

Now click Start Process to start the coordinate-recording process and follow instructions on the robot console.
The robot will ask you to provide the four required coordinates sequentially. To provide a coordinate we need to place the robot TCP on the desired coordinate and confirm (the robot will be, along the process, in free-drive mode).
WARNING
Make sure that the robot TCP is well defined before proceeding.
This process can be stopped any time or automatically finished after providing the fourth coordinate.
Coordinates provided by the robot can be manually edited any time before saving. Once finished, click Save
Edit box
To edit an existing box in the data repository first select the option Edit existing box under the heading Actions on boxes.
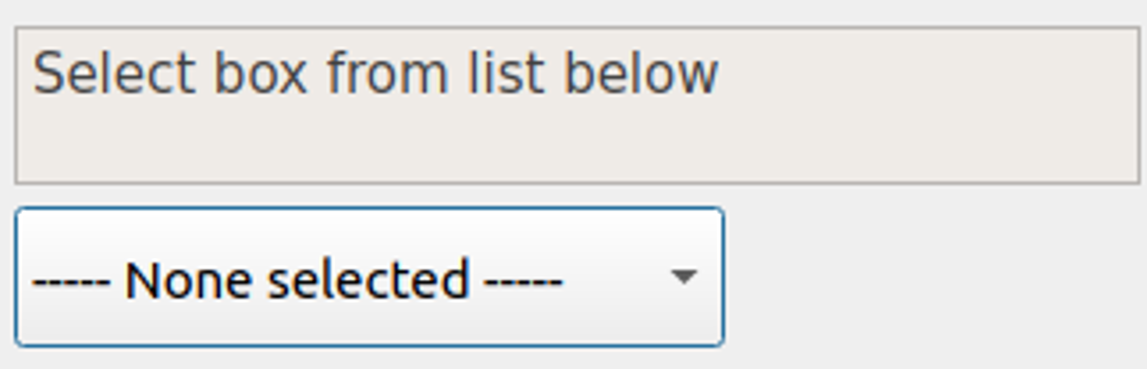
Select the box you want to edit or delete from the drop-down menu.
When you're finished, click Save to apply your changes or Delete to remove the box.
WARNING
Only boxes not included in an environment can be deleted.
Pick Environment Manager
Once all the pick containers are defined, the Pick Environment Manager lets you group them into named environments for application workspace control. Use it to create, activate or delete environments so each application runs safely within its intended boundaries.
To define / edit an environment select the Pick Environment Manager option under the Actions heading.
Create new environment
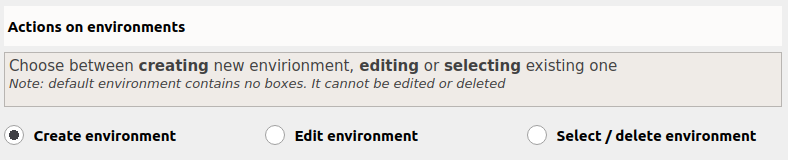
To create a new environment select the option Create environment under the heading Actions on environments.
First, enter an ID for the new environment and verify it.
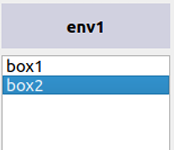
In order to add a box to the newly created environment select it from the drop-down menu and click Add
To remove a box previously added select if from the list viewand click Remove
Save environment box into the data repository by clicking Save and activate
WARNING
By saving the current environment we automatically select it as the active one.
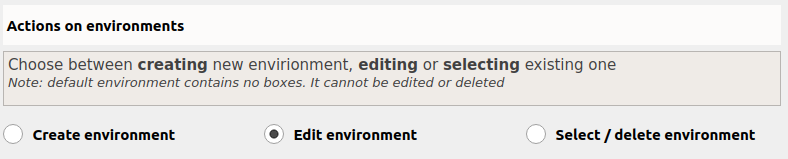
Edit environment
To edit an existing environment select the option Edit environment under the heading Actions on environments.
Select environment from the drop-down menu

Once selected, we can proceed as in the creation of a new environment by adding / removing boxes and saving it when finished.
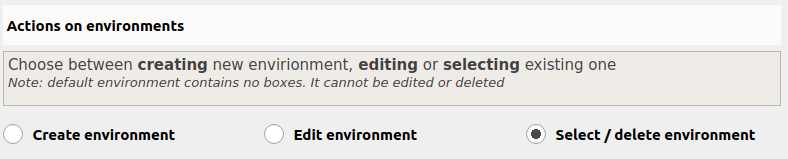
Select / Delete Environment
To activate or delete an environment select the option Select / delete environment under the heading Actions on environments.
Select environment from the drop-down menu and click:

respectively to either activate or delete the selected environment.